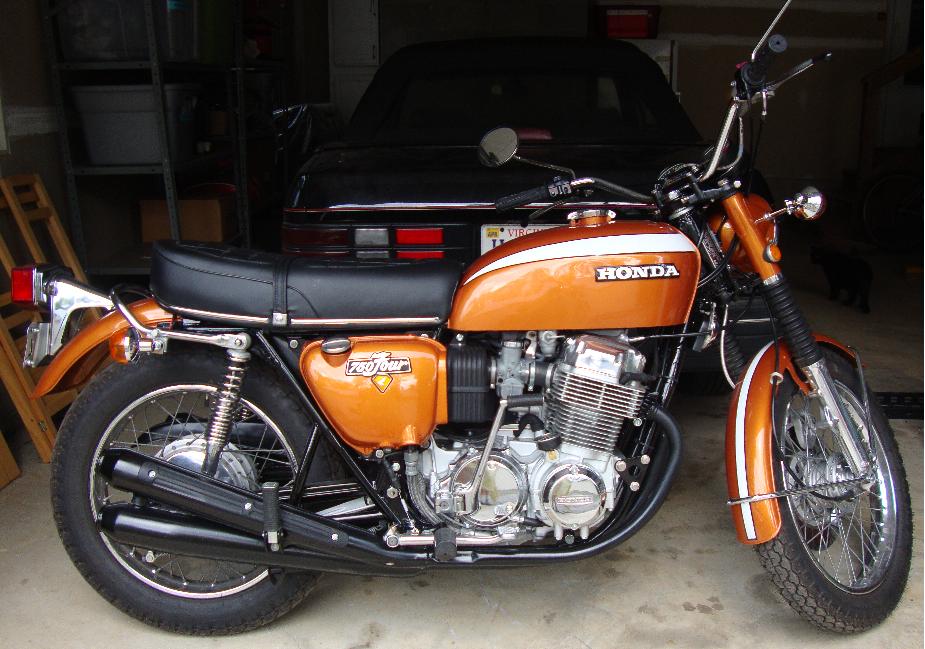
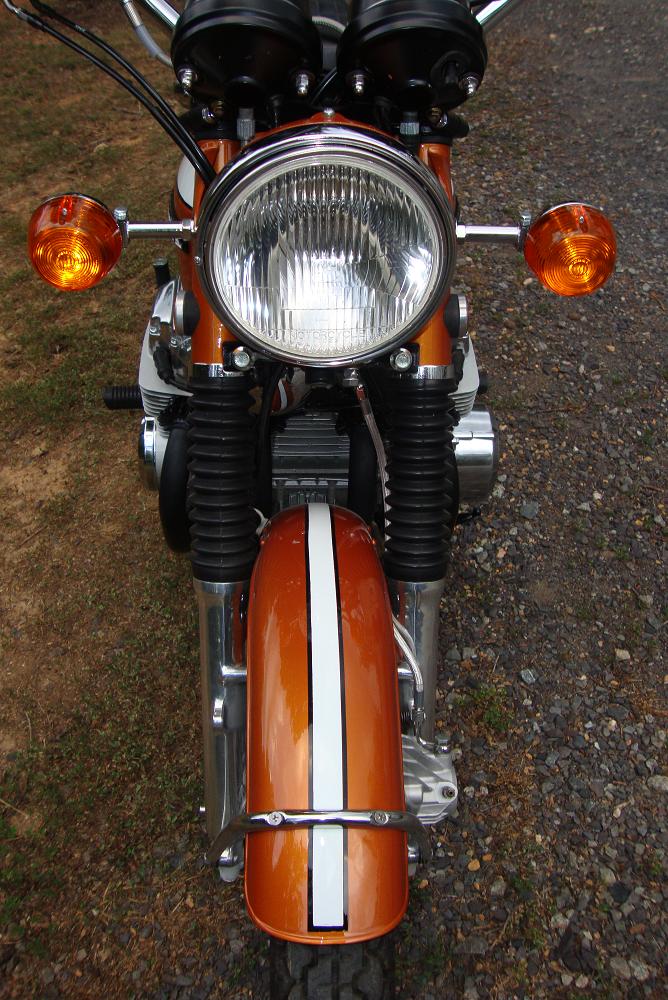
1974 Honda CB750 Four K4
Mechanical Service with some Cosmetics
Owner & Writer: Randy Creel, Jr., Owner & Restorer of Randy's Cycle Service & Restoration
Revitalize the Spirit & Beauty of your Classic Bike
Located in beautiful Central Virginia since 2001
8175 Black Walnut Run Road, Rhoadesville, VA 22542 USA
Service by Appointment ~ Closed Sunday & Monday
Email: info@rcycle.com
The Mid-Atlantic Region Premier Restorer of Vintage Motorcycles
Website created and managed by Ursulina Creel. Comments? Send to info@rcycle.com
This page was last updated on: August 6, 2013
Website & video content is the property of Randy's Cycle Service & Restoration & may not be used for any reason without prior, written permission.
COMMENTS: This page is an ongoing write-up of Randy's mechanical & cosmetic service to the bike he'll personally be riding starting the spring/summer 2010. Write ups - some technical some personal - will be posted along with pictures & a video of the progress. Notifications of new entries will appear on Facebook, so please join us on Facebook by clicking on the icon above.
Blog Entry 9: Posted June 29, 2010
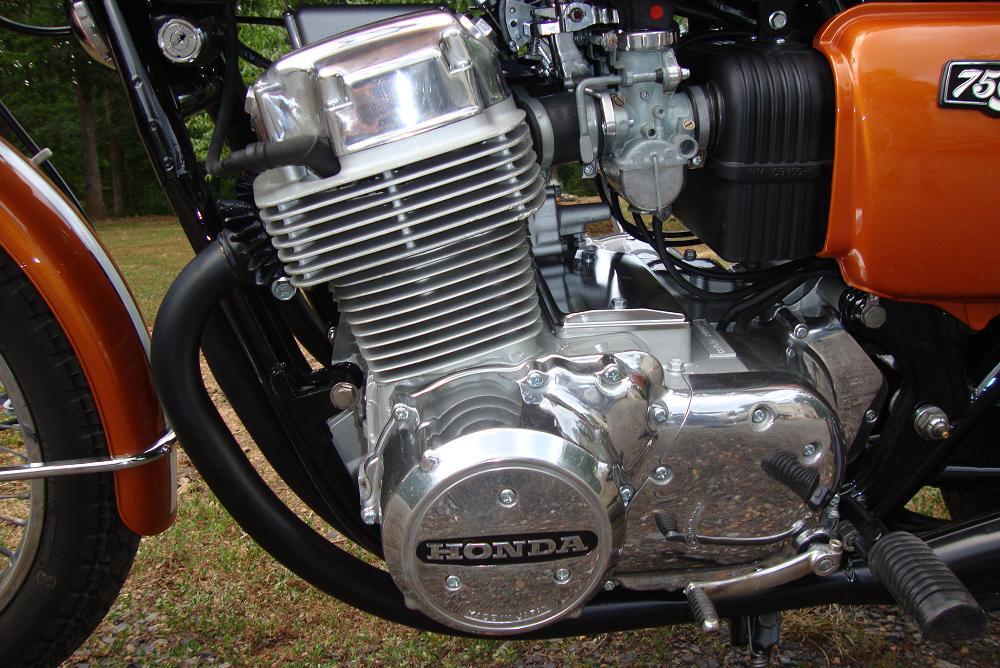
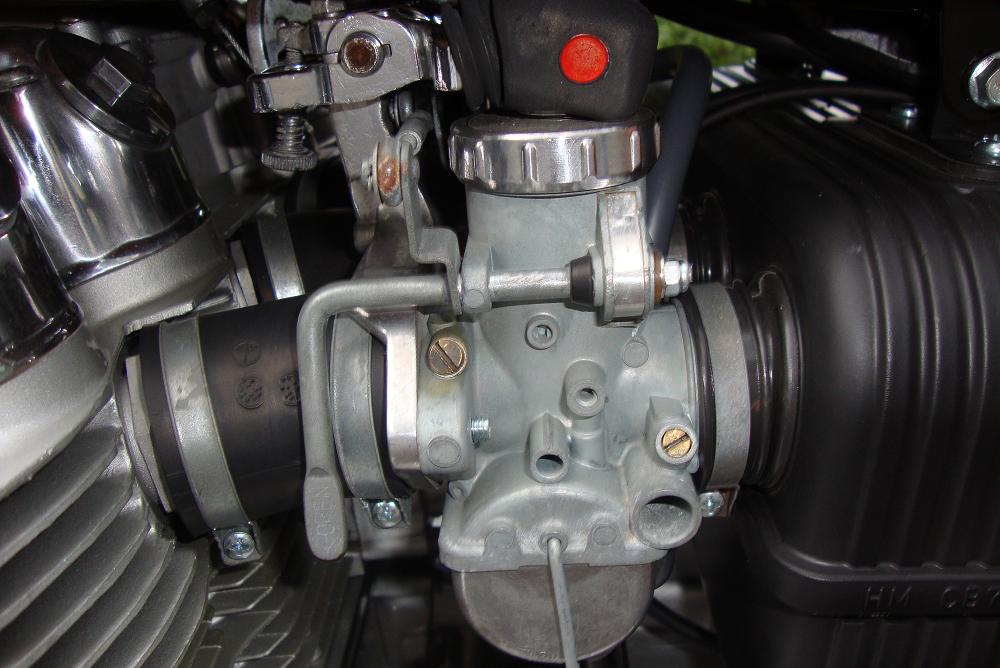
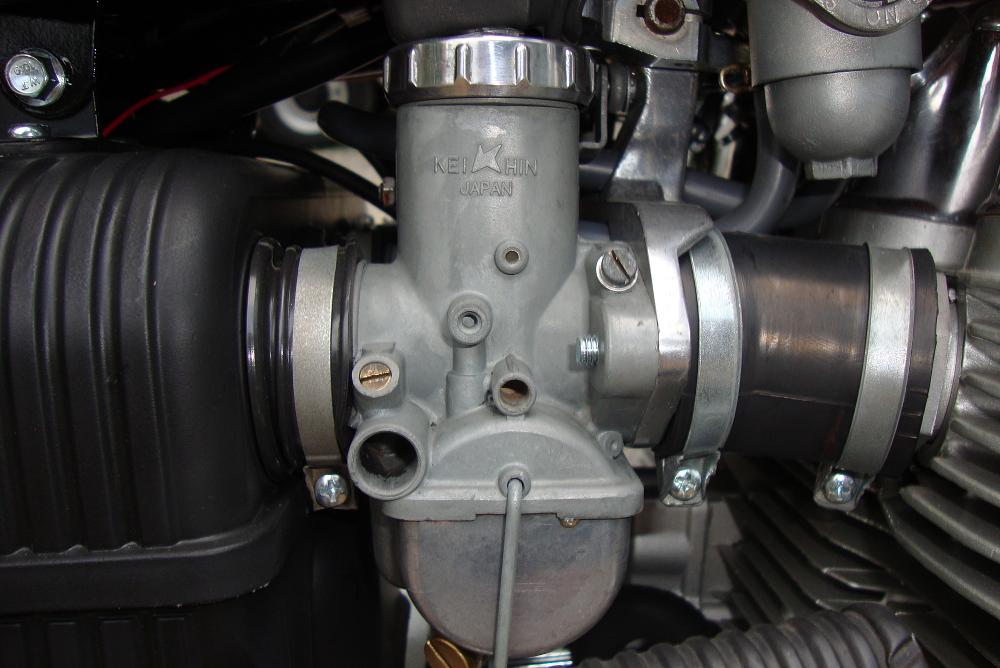
When I last left off, I’d gotten everything up and running, and now its time to move on to synchronizing the carburetors. What this means in a nutshell is making sure all four carburetors are doing exactly the same thing. Before I give you all the details, a little explanation is in order here. Many times when folks come into the shop, along with a service, they generally ask me to “synch the carbs.” My answer to that, much like when they ask for a tune-up is: Why? The reason I say this is that carburetors only go out of synchronization for a few reasons: First, is that someone worked on them and actually separated the bodies of the carburetors in the process. Second, is that really old multiple carburetor machines had individual cables, and as such, they’d stretch at different rates affecting each unit differently. (Think Triumph Bonnevilles.) Third is when someone decides to adjust the balance screws mistakenly to correct a low idle or compensate for another mechanical deficiency. In the case of my CB750, the carburetors on any machine built after 1970 had a one-piece cast aluminum linkage which was pretty well fixed, so cable stretch wasn’t the problem, but a mixture of different carburetor bodies, slides, jets, and mounting plates was coupled with the parts bin assemblage of goodies resulting in a big question mark. (Mine were pieced together.)
I have always used the mercury type synchronizing gauges for many years, and they seem to provide the best results. Mostly because they are more stable than vacuum gauges and also with the cam profiles of the older machines, the vacuum gauges tend to bounce around wildly, even with dampers installed. Once connected, with a warm engine, I was quite happy to see the carburetors weren’t too far out of balance. In fact, the Honda factory manual specification calls for between 18 and 24 in/hg at idle. Two of the cylinders fell almost perfectly within that spec, and one was high, the other low. That explains the slow to return to idle issue. With a little adjustment of the slide height on the offending cylinders, the bike now idles smoothly and snaps back to idle after a rev with authority.
Once the carburetors were set up correctly and all the adjustments locked down properly, the fuel tank went on. For the first time the bike was able to run without being connected to an auxiliary tank hanging from an IV stand. There is something about being able to start any bike without it being tethered to something that represents a milestone so far as a restoration is concerned. Of course, no fuel tank is complete without a seat behind it to support a rider (me) and complete the package. I opted instead of trying to salvage a rusty pan, crunchy seat foam and other pieces to just spring for a new Honda seat. Honda still offers a new production seat for the CB 750 and I must say it is of good quality, and fits well. The quality is so much better than the switchgear and it isn’t the wrong color (purple instead of red) either. Now, for the first time I actually sat on this bike as a complete machine. I’m not an emotional person when it comes to machinery, but I must say it is very pleasing to see a complete bike, and even more so of a basket case or bits machine.
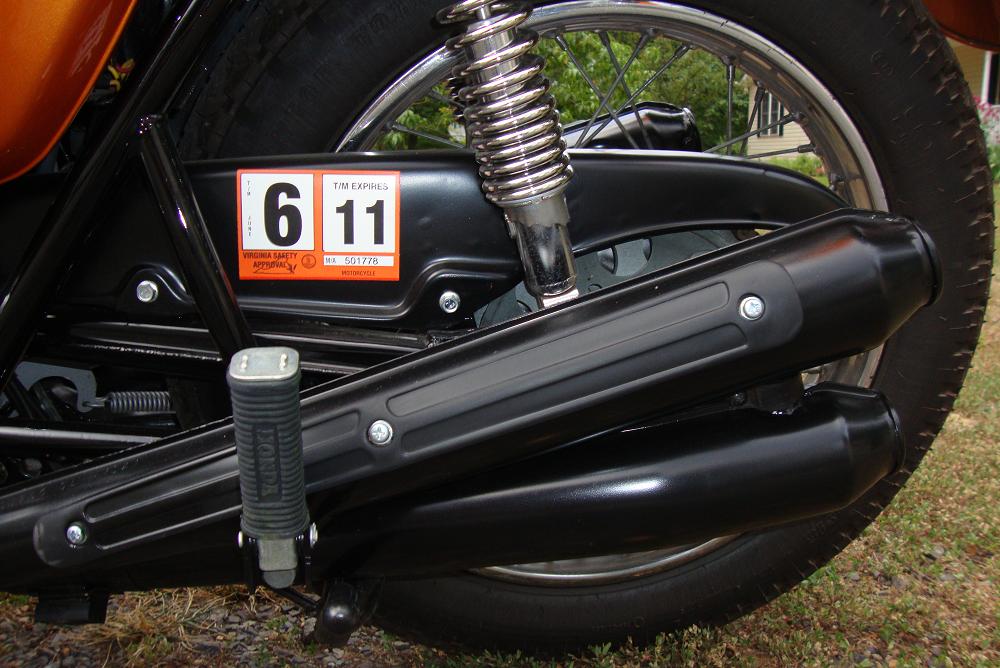
Now that all the little bugs are settled, it's time for the real thing: yhe first ride. Not one to be foolish with any major coupling of various parts, I have to confess that my first rides consist of about 1,600 feet, or just shy of a quarter mile which is my driveway until I am sure that everything I’ve piled into one collection works in unison. In this case it did, and without any real fuss. I did have to come back and slightly adjust the chain guard because the chain was touching it ever so slightly, and the clutch needed a fine adjustment as it released a bit too quickly, but other than that, I was satisfied enough to strike out for something a bit longer. Just out of my shop, there is a 13 mile circuit which I use as a road test course. It has a bit of everything, such as some 55 MPH plus highway, a nice curvy back road, some stops, and couple left and right turns. All of this is fairly well devoid of other traffic most hours of the day. It is like having your own proving grounds in a way and it is very suited to vintage motorcycles. I’ve come to know every bump in the road and every little nuance of this route so it’s easier to concentrate on the bike's performance, sound, handling instead of having to worry about traffic.
The first ride: I left the shop and headed out for my usual route. Everything went perfectly, and the bike rode as I expected. About the only faults I could find in the first mile or so were a loose clutch perch/combination switch which was more of an annoyance than a problem, and a brake lamp that intermittently operated from the front lever. Both of which were quickly rectified after the ride. Usually I just do the 13 miles and head back, but because everything was performing so well, I stopped at the service station I pass along the way and tanked up full then extended my ride to the bigger road test course I use for shakedown runs. This one is around 30 miles total, and incorporates lots of different riding conditions. Once again I was not disappointed and the bike did extremely well. Heck, maybe I should have just kept on riding until I reached the Pacific. Once back at the shop (no I didn’t make it to the PCH) it went back up on the lift for a thorough look over. Not so much as a drip. Now is when I give everything a once over with the fine-tooth comb and retighten each and every fastener, check all electrical connections, address any issues in my mental list of first-ride bugs, be certain any cables aren’t chafing, or incorrectly routed, all lights work, there are no leaks, nothing looks out of place and that generally the machine is doing what it should. Once this preliminary inspection is complete and I am satisfied with the results, then its off for another road test and the same procedure one last time. If that last inspection passes muster, the next step is a trip to the Dept. of Motor Vehicles for licensing & a call to my insurance agent.
Next update: The first big road trip