1974 Honda CB750 Four K4
Mechanical Service with some Cosmetics
Owner & Writer: Randy Creel, Jr., Owner & Restorer of Randy's Cycle Service & Restoration
Revitalize the Spirit & Beauty of your Classic Bike
Located in beautiful Central Virginia since 2001
8175 Black Walnut Run Road, Rhoadesville, VA 22542 USA
Service by Appointment ~ Closed Sunday & Monday
Email: info@rcycle.com
The Mid-Atlantic Region Premier Restorer of Vintage Motorcycles
Website created and managed by Ursulina Creel. Comments? Send to info@rcycle.com
This page was last updated on: August 6, 2013
Website & video content is the property of Randy's Cycle Service & Restoration & may not be used for any reason without prior, written permission.
COMMENTS: This page is an ongoing write-up of Randy's mechanical & cosmetic service to the bike he'll personally be riding starting the spring/summer 2010. Write ups - some technical some personal - will be posted along with pictures & a video of the progress. Notifications of new entries will appear on Facebook, so please join us on Facebook by clicking on the icon above.
Blog Entry 8: Posted June 22, 2010
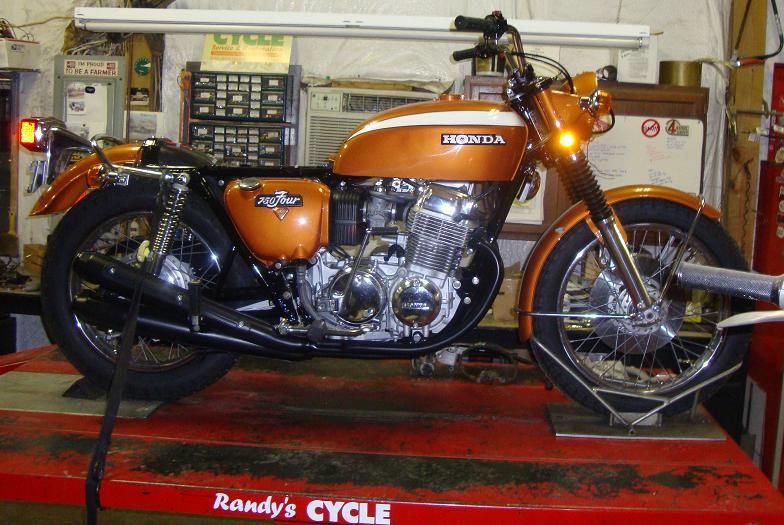
With the power plant back in the frame and properly connected to a fuel source and electricity, I still needed to get the exhaust sorted. I really like the original CB 750 4-into-4 pipes both because they look right and they perform well in stock situations like I have here. No jetting quirks, no excessive noise, and no fitment problems to contend with help to keep my “simple and functional” plan rolling along smoothly. With this in mind, I retrieved a set of original 341 pipes I had and decided to give them a good cleaning and assessment. Normally in a full restoration, I’d replace these with original Honda pipes, but, in this case to keep the cost reasonable, and use what I already had on-hand, I decided as I did with the pitted fenders to paint these pipes. They were a very solid set of pipes, but the chrome had the usual pitting and scuffs that 30+ years have dealt them, so into the blasting cabinet they went. After roughing up the original plated surface, I sprayed them with a high-heat black. This is a temporary solution until this fall when I plan on having all four of them Jet-Coated in a satin black, but for now this will do. My inspiration for this look came from the CR750 race kit offered from Honda for the CB’s. In fact, the whole color and layout has loosely followed this idea. After installation they look quite nice and blend in without looking out of place amongst the other chrome bits.
The handlebars and controls were the last items needing full attention before being able to hear it run. This is an area where I probably spent more time and effort than anything else in terms of comfort since I plan on a lot of time hanging onto this part of the bike while piloting it to whichever faraway destination I choose. There is nothing quite so bad, in my opinion, than getting just far enough away from home to realize that the bar height, lever position, seat relation to controls, or some other quirk has you in pain and its just as far back as it was to get where you are now. It turns a fun and pleasant day into a painful and arduous ride, punctuated with frequent rest stops very fast. So ... decided to pick my bars carefully to be absolutely certain that they would suit me. In the end, I wound up with of all things, a set of Triumph TR6C bars. These are a low bar with a nice wide spread, just enough rise and pullback to give me an upright, yet slightly forward riding stance, and best of all, they look really cool too. They just seem to fit aesthetically on the bike. In case anyone noticed, the bars in the previous pictures were some I just pulled off the shelf for the purpose of making the bike easy to move around and had a bit of a buckhorn sort of look. Not at all correct or what I had in mind for the final product. Once mounted, and drilled to accept the Honda controls (all the wiring is hidden inside the bars) I installed the new switchgear from Honda. I also learned a really neat and disappointing detail about new production Honda parts for old bikes: I suppose, and have no factual basis for this, that Honda now farms out their parts production to places with quality control on the same level as China. The new switchgear I received from Honda after using their part numbers which had been superceded numerous times over the years, was obviously not of the same quality of years past. The right switch which incorporates the engine kill switch has a plastic switch for that function. Normally this is fire engine red in color. The replacement is a nice shade of purple. Not to be outdone in poor quality, the left switchgear which houses the turn signal and horn button, lacks one very important switch: The HI/LO beam switch. There is a boss cast onto the housing, but it isn’t used. Even better, I installed it completely, threading the harness through the bars and into the headlight bucket before it even dawned on me. Nice. So, I ended up digging out some older switch housings, and using the new internals and a few hours completed a functional and correct switch. Now it all works and looks good albeit a purple kill switch to look at me mockingly each time I ride. I do sincerely hope the quality of all the contacts and wiring is better than the initial appearance of the switches.
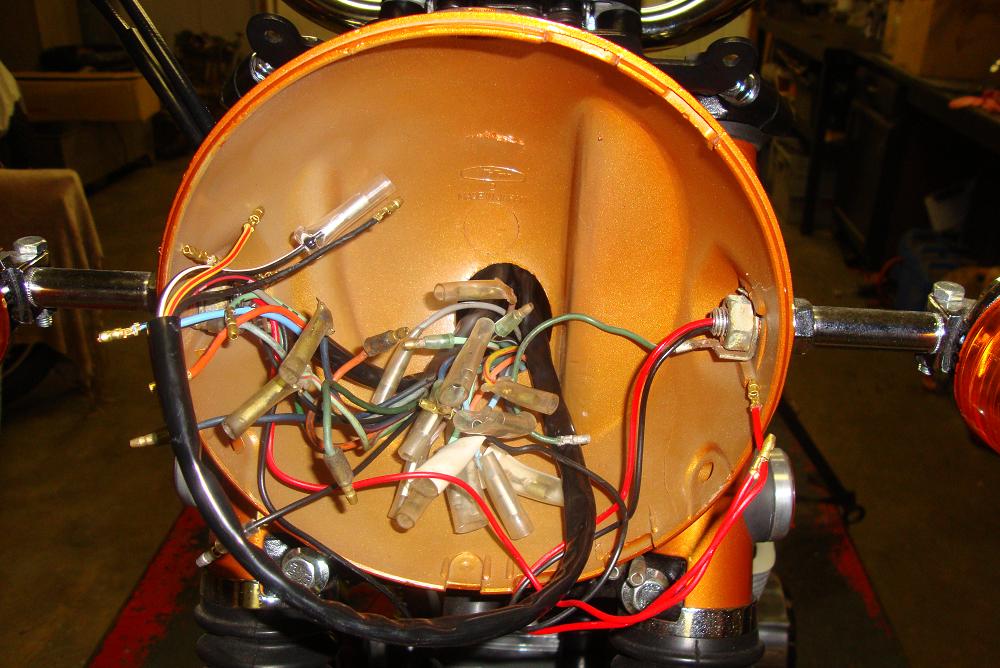
The last task to tidy up all of the electrical system was to connect the harnesses in the headlight bucket to their respective terminals. This included all of the indicator lights, signals, lighting, switches and grounds. Top that all off with a replaceable bulb H4 halogen headlamp and it was nice to finally button up the headlight bucket once and for all. On a side note, I chose the H4 headlight for several reasons: First, I can get a replacement bulb at any parts store on the road if necessary. Second, I can actually change it on the side of the road without a handful of tools to remove the original sealed beam, and lastly, I can see ahead of me a safe distance in the dark of night. It’s a really practical upgrade.
Now, the moment you’ve all (and me too) been waiting for: IT RUNS!
And run well it does. With everything ready, I had it plumbed to the auxiliary fuel tank and a fresh battery installed. If it rolled over more than a few revolutions before starting, I’d be surprised. With a pleasant rumble the SOHC came to life and quickly extinguished the oil lamp indicating sufficient oil pressure. After a few moments of keeping the idle up enough to overcome the cold engine, it soon warmed enough to settle into a slightly higher than usual idle. Given that the carburetors haven’t yet seen a synchronizer, 1300 RPM isn’t really too bad for a set of bits carbs of unknown origin and it actually snapped back to idle fairly readily. Synchronizing will get all four of them spot on in short order. Everything looked as normal, and there weren’t any leaks big or small, but that wasn’t a surprise, and overall, the engine seemed to be just about a textbook case of how it should go. Just for my own curiosity, I decided after the engine was fully warm to check the timing of the Dyna electronic ignition with a stroboscopic timing light. Both at idle and at full advance the timing was dead-on having only set it initially with the static method in the Dyna instruction sheet. It’s nice when things come together so well. After a quick run-in, I shut it down and let it cool, going over any fasteners to be sure everything was in order, before again firing it up and letting it run for a while longer. One thing that bears noting here is that anytime you are running-in an air cooled engine and the bike itself isn’t moving you will need to supply a source of cooling air to it. Otherwise it will begin to overheat being stationary for so long. I use a very large squirrel-cage blower for this purpose and it works quite well.
Next update: Synchronization of the carburetors, first road test and impressions, then the road trip ...
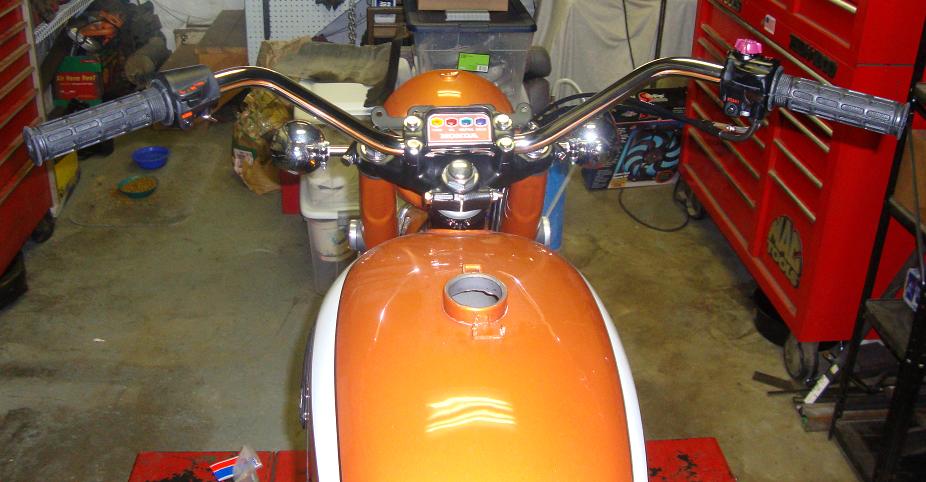
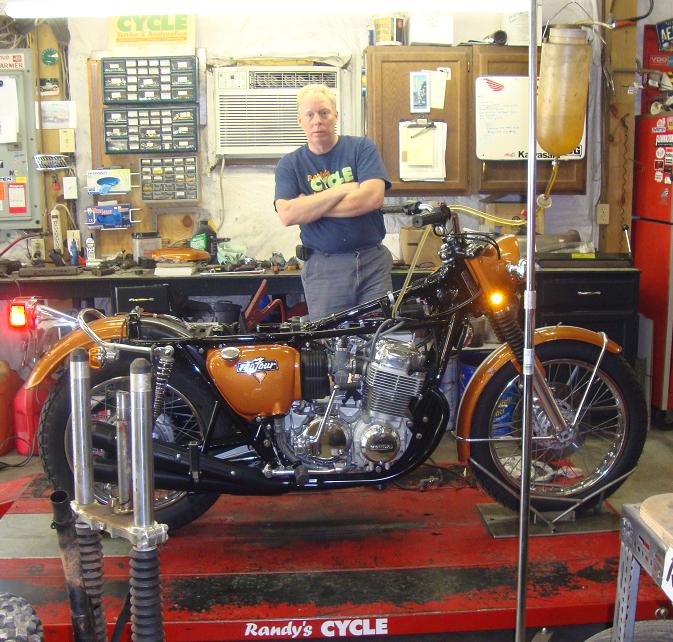
The non-stock handlebar I find particularly comfortable. It's from a Triumph TR6C.
For reference, Randy is 6 feet tall
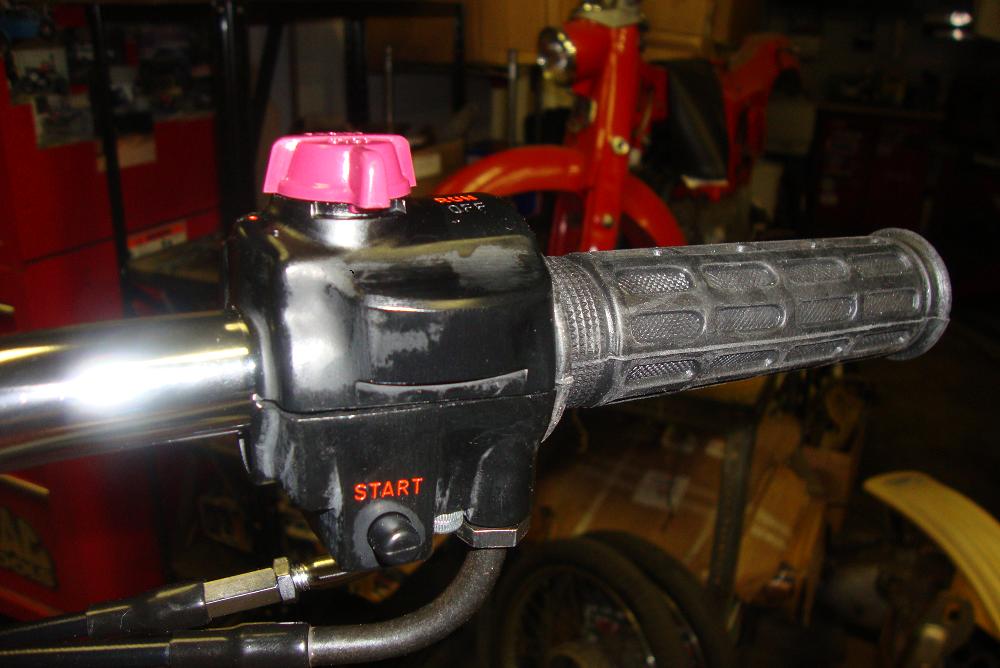
The purple switch - not red, but purple. And it comes from Honda
this way.
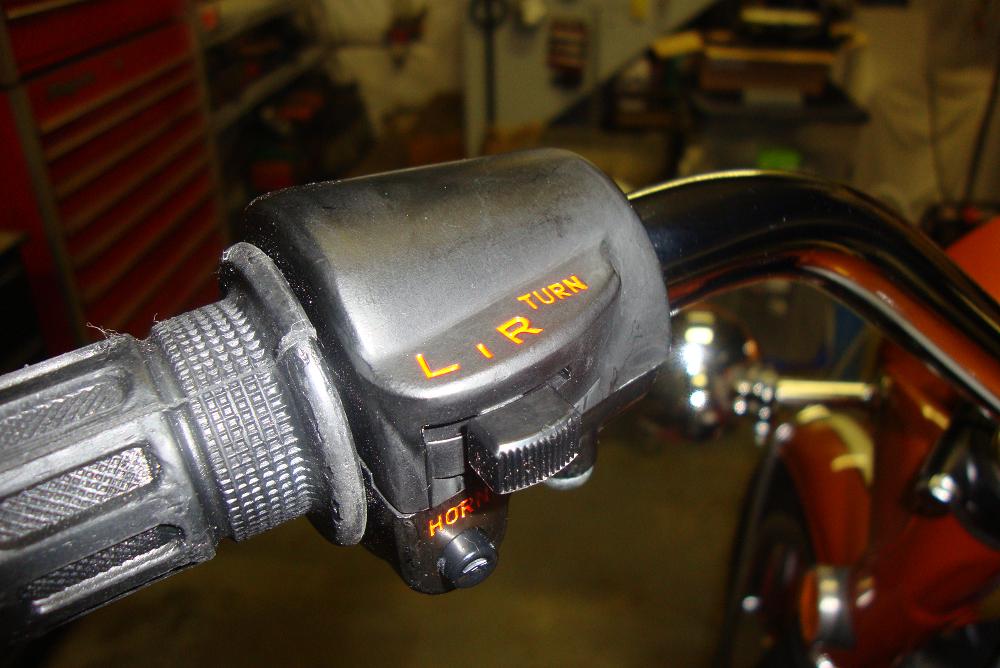
The switch with the missing HI/LO. Again, it comes from Honda
this way.
Cleaned up wiring in the headlight bucket and creating it so it will accept a Halogen H4 bulb
1st test run while tethered to an auxilary gasoline supply