1974 Honda CB750 Four K4
Mechanical Service with some Cosmetics
Owner & Writer: Randy Creel, Jr., Owner & Restorer of Randy's Cycle Service & Restoration
COMMENTS: This page is an ongoing write-up of Randy's mechanical & cosmetic service to the bike he'll personally be riding starting the spring/summer 2010. Write ups - some technical some personal - will be posted along with pictures & a video of the progress. Notifications of new entries will appear on Facebook, so please join us on Facebook by clicking on the icon above.
Website created and managed by Ursulina Creel. Comments? Send to info@rcycle.com
This page was last updated on: February 16, 2018
Website & video content is the property of Randy's Cycle Service & Restoration & may not be used for any reason without prior, written permission.
Click each link to be directed to the blog entry There is one entry per link
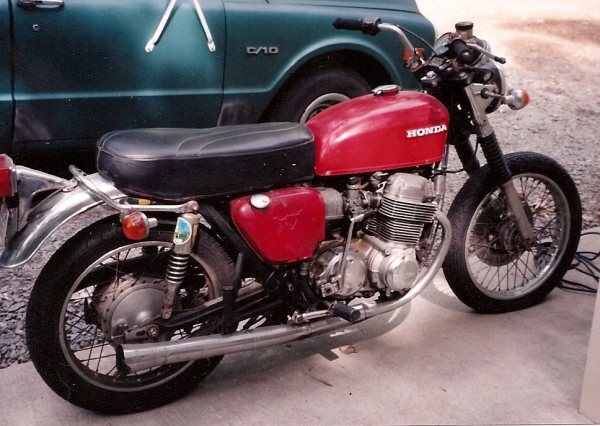
Before
Current
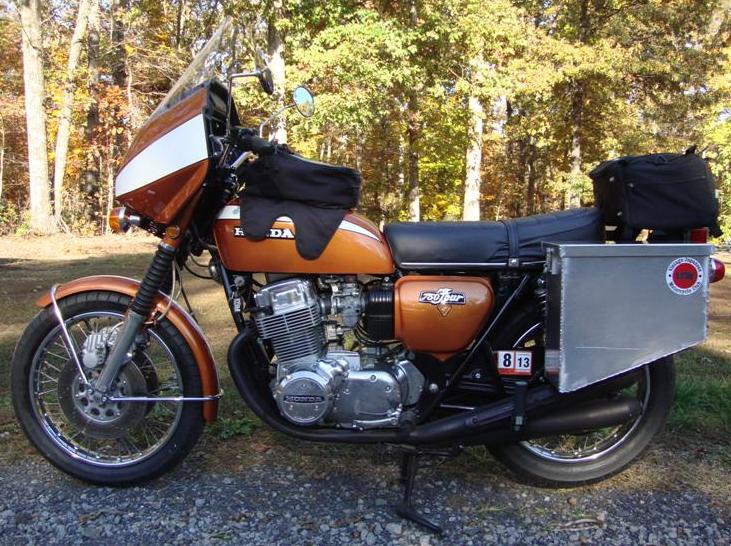
Click on each entry link to learn how this stock CB750 has been turned into a vintage touring machine
Revitalize the Spirit & Beauty of your Classic Bike
Located in beautiful Central Virginia since 2001
8175 Black Walnut Run Road, Rhoadesville, VA 22542 USA
Service by Appointment ~ Closed Sun, Mon & Thur
The Mid-Atlantic Region Premier Restorer of
Vintage Motorcycles from the 50s, 60s & 70s
rcycle.com info@rcycle.com