1974 Honda CB750 Four K4
Mechanical Service with some Cosmetics
Owner & Writer: Randy Creel, Jr., Owner & Restorer of Randy's Cycle Service & Restoration
Revitalize the Spirit & Beauty of your Classic Bike
Located in beautiful Central Virginia since 2001
8175 Black Walnut Run Road, Rhoadesville, VA 22542 USA
Service by Appointment ~ Closed Sunday & Monday
Email: info@rcycle.com
The Mid-Atlantic Region Premier Restorer of Vintage Motorcycles
Website created and managed by Ursulina Creel. Comments? Send to info@rcycle.com
This page was last updated on: August 3, 2013
Website & video content is the property of Randy's Cycle Service & Restoration & may not be used for any reason without prior, written permission.
COMMENTS: This page is an ongoing write-up of Randy's mechanical & cosmetic service to the bike he'll personally be riding starting the spring/summer 2010. Write ups - some technical some personal - will be posted along with pictures & a video of the progress. Notifications of new entries will appear on Facebook, so please join us on Facebook by clicking on the icon above.
Blog Entry 3: Posted May 5, 2010
Now that the frame is painted and situated on the bench, build-up can begin.
The suspension was as I expected after 35 years of neglect, but overall, not unserviceable. The front forks have come down completely to polish the lower legs, and in the process all new seals, springs and oil were installed. The chrome on the fork sliders was perfect and prevented having to replace the tubes. The rear shocks were leaking, but a fresh set of Progressive rears took care of that issue and modernized the rear suspension as well. Coupled with the Dunlop tires I’ve chosen, the bike should handle fairly well, or as well as a Honda CB750 does with the benefit of 35 years of progress in design.
Electrically speaking, the wire harness was also in decent shape, but the CB750’s do have a few problem areas that I addressed prior to installing the entire harness. This way, I won’t be left along the side of the road some dark and wet evening to sit & question why I didn’t do the necessary repairs when I had the chance - now.
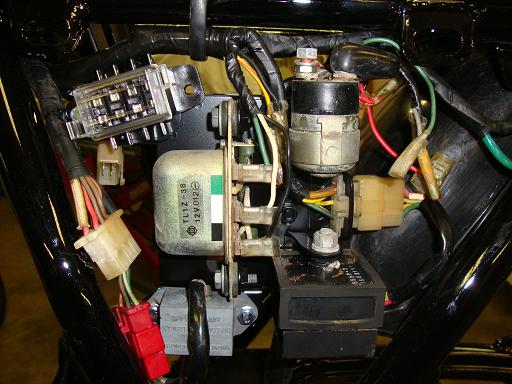
One issue was the fuse box that came standard on the original K models. They used 4 of the old AGC glass tube fuses. While they were fine for 1974, add a few years of use, vibration, loose or dirty connections, and lack of maintenance to any of the other electrical areas, and you have a failure waiting to happen. Generally, the fuses start to lose connection where they clip into the fuse box tabs where corrosion starts. This creates a high resistance connection and in turn creates a lot of heat. With a plastic base that the fuse connectors reside in, soon, they melt the fuse box and lose connection completely. Not so bad if its just the taillight fuse, but usually it’s the headlight or worse yet, the main fuse. To rectify this weakness, I installed a small, four position ATC blade-style fuse box. This makes several good improvements: First, the ATC fuses are much less susceptible to vibration. Second, they are easier these days to obtain from almost any parts store on the road. Third, the new fuse box is weatherproof and sealed with a clear lid. Looks good, too.
Another problem area on nearly all early Honda bikes was the square plastic main connectors. These are found at the stator connection, fuse box connection, ignition switch, and various other places. They are usually anywhere from 4 to 6 pins. The problem here is also poor connections due to dirt, moisture, corrosion and the like. Again, as with the fuse box, this leads to high resistance and heat which damages the connectors and pins inside them. Since my harness was in very good shape I cleaned the connections all very well with contact cleaner then reassembled them with dielectric grease to keep out any of the nasty stuff like dirt and water.
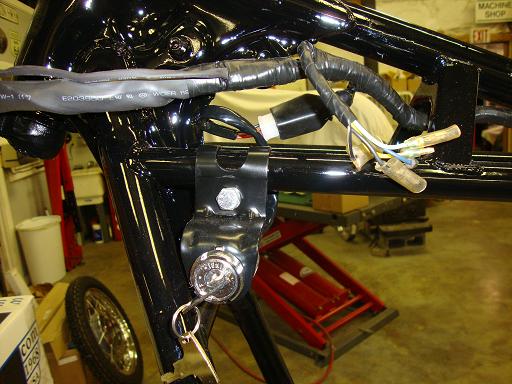
Finally, for the harness itself the area where the wiring makes its way from the frame to the headlight bucket needed some attention. Originally Honda used a plastic covering on the harness here, but after all the years of exposure to the elements that covering tends to harden to the point it won’t bend easily. Then each time the steering is turned, it starts to pinch the wiring inside eventually breaking one or more wires inside that cover. Removing that old jacket and replacing it with new softer material will assure there aren’t any other issues down the road.
Early lighting on most late 60’s and early 70’s bikes was a suggestion at best and 40 watt headlights, even the nicer sealed beams that Honda chose still don’t go very far in keeping the road illuminated far enough to safely ride at night in my opinion. Since there will be times I plan on returning after dark, a replaceable halogen 55 watt headlamp is also going in. This is a motorcycle application so that it has the proper prisms in the lens for this application. To cut down on some electrical load, and compensate for the extra wattage of the headlight, I’m going to use LED bulbs for the taillight and signals.
Next update: Wheels and tires, and paint and bodywork
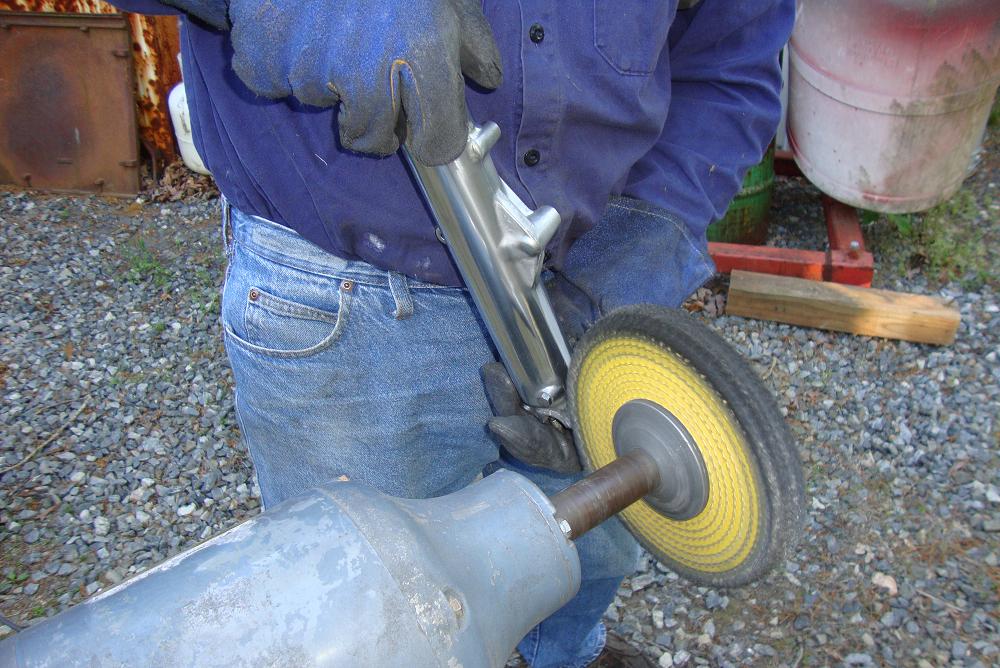
Polishing the front fork legs
The new updated fuse box
Work done to the wiring harness
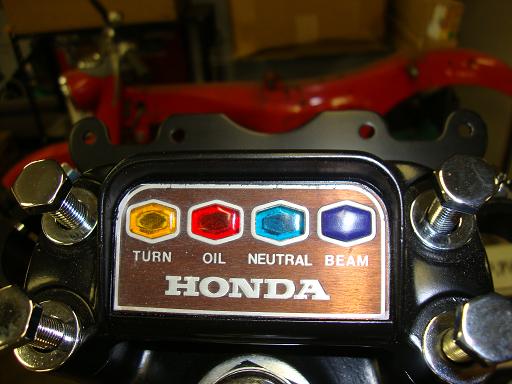
Indicator lights panel