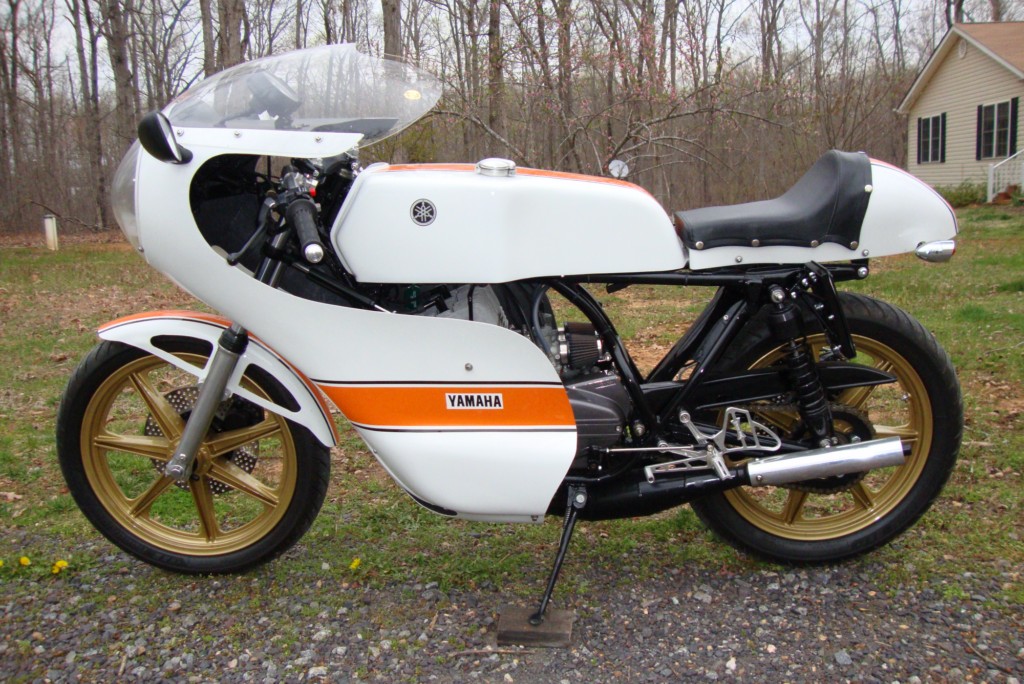
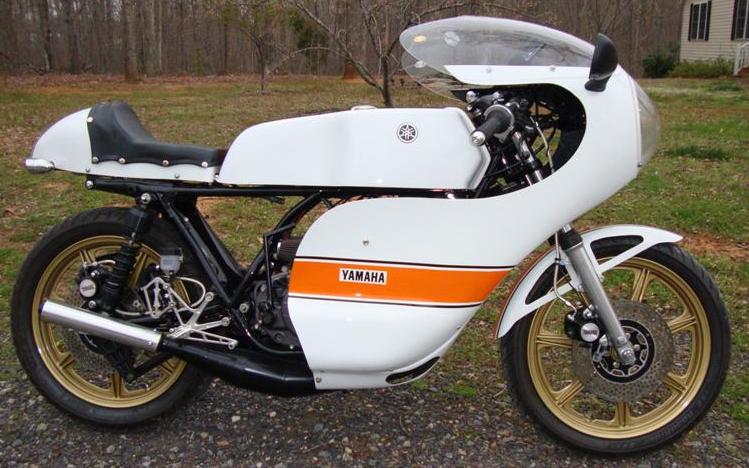
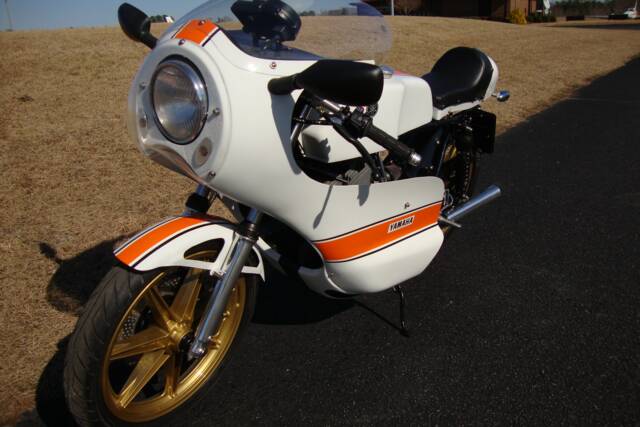
1974 Yamaha RD 250/350
Customizing
Owner: Terence M. of Raleigh, North Carolina
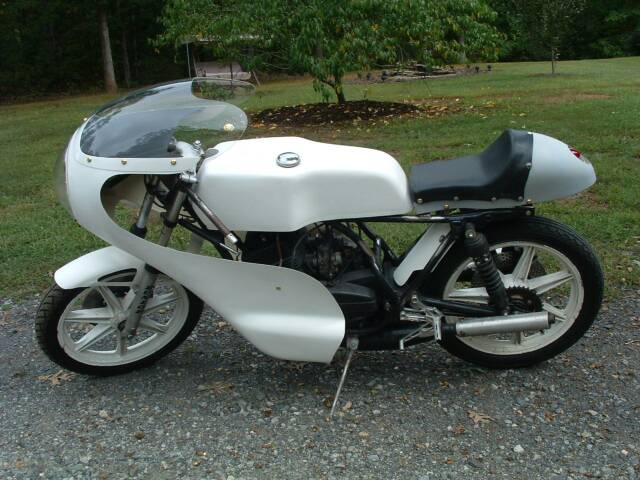
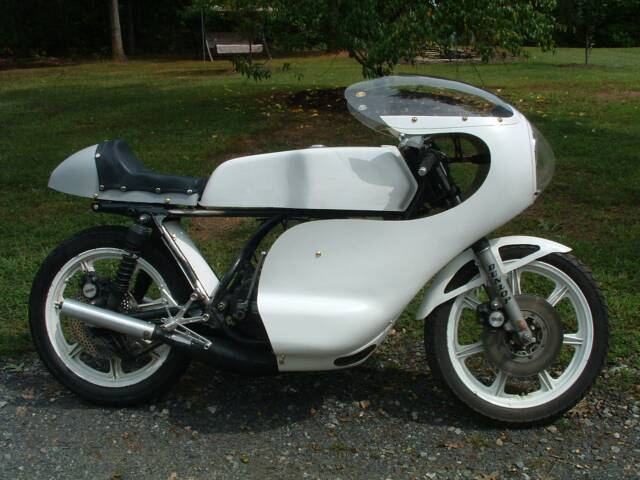
COMMENTS: There are many photos & 3 videos below. This custom designed bike took over
100 hours of labor & 12 months turn around. The customizing was performed in 2 stages.
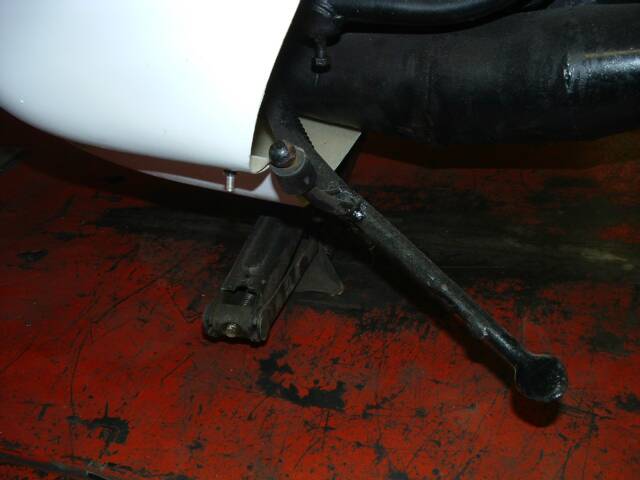
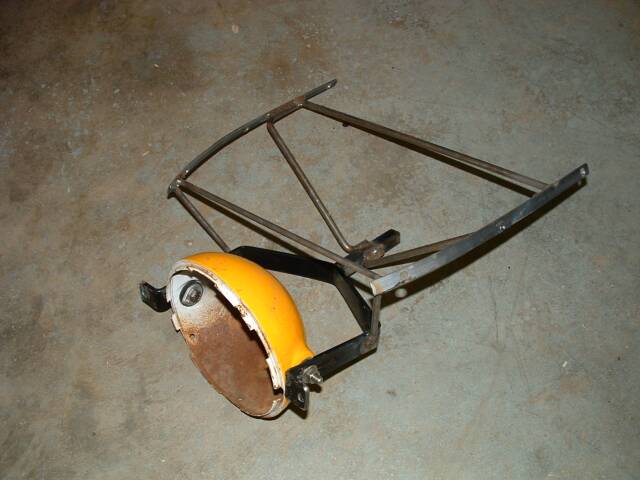
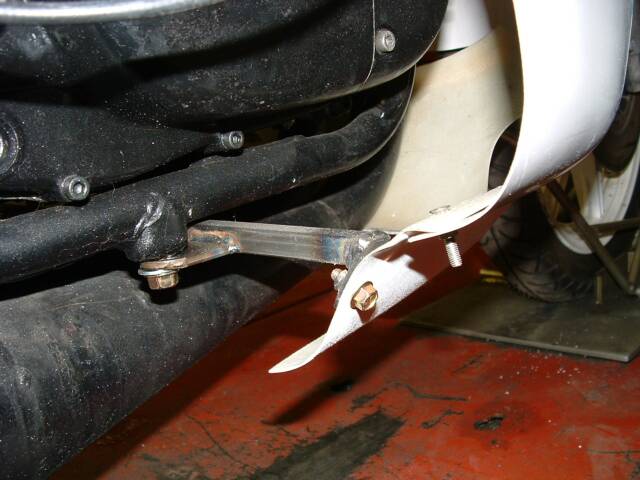
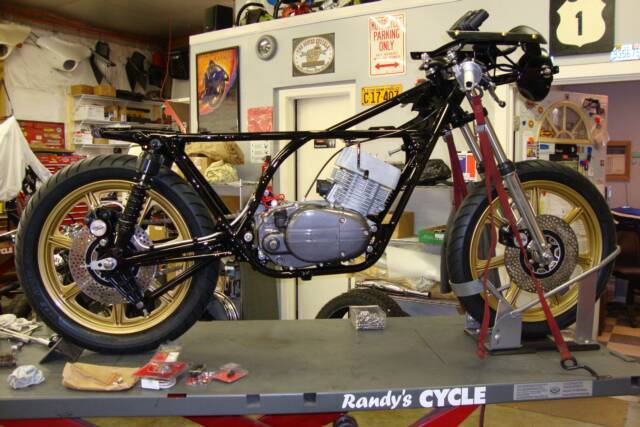
Stage 1: strip bike to bare frame, cut off & smooth extraneous or poorly constructed welds from battery box, various mounting tabs & rear section support, relocate gasoline tank back 1" to make room for upper fairing placement & steering clearance, fabricate mounting points for upper fairing/headlight mount, lower fairing & rear section & weld fairing bracket to headstem, adjust and fit upper fairing, lower fairing & rear section, remove swing arm brace and create new brace & weld properly, install new clip-on handlebars that will fit upper fairing, simplify and move electrical & battery to underneath rear section & hide wiring, create custom made, simplified wiring harness, remove rear sets and install smaller set that will clear kicker & not be in the way when not in use & custom fit the customer, fabricate new, safer side stand to fit around expansion chamber, fabricate recessed tail light into rear section, install smaller seat unit and create seat pad, create installation point for flush mounted front & rear LED turn signals with LED load flasher, modify top clamp to weld smooth & weld/plug handlebar holes.
Revitalize the Spirit & Beauty of your Classic Bike
Website created and managed by Ursulina Creel. Comments? Send to info@rcycle.com
This page was last updated on: June 1, 2011
Authorized Dealer for:


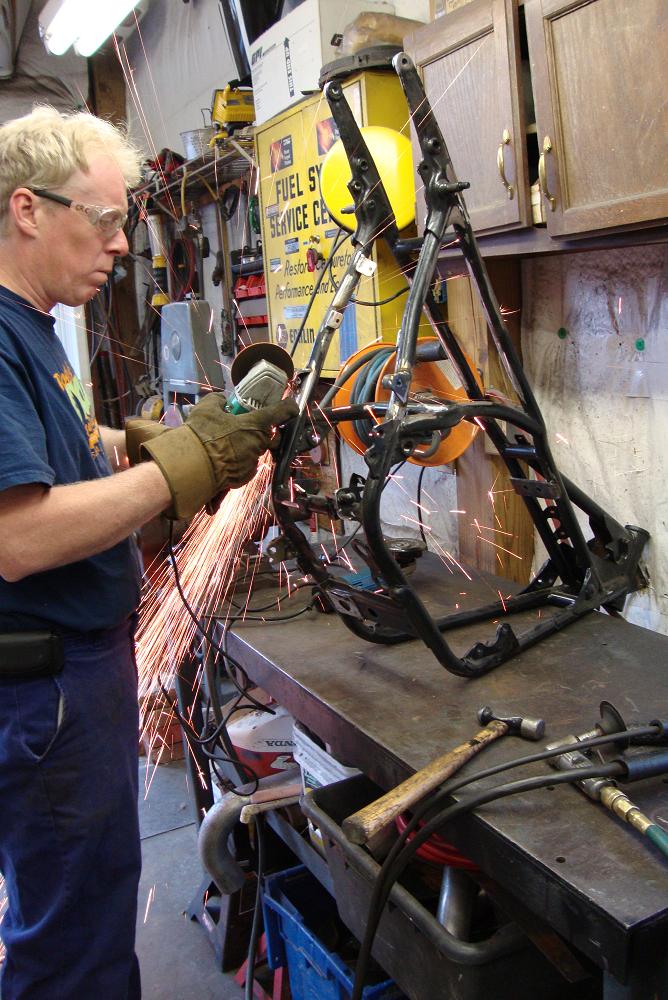
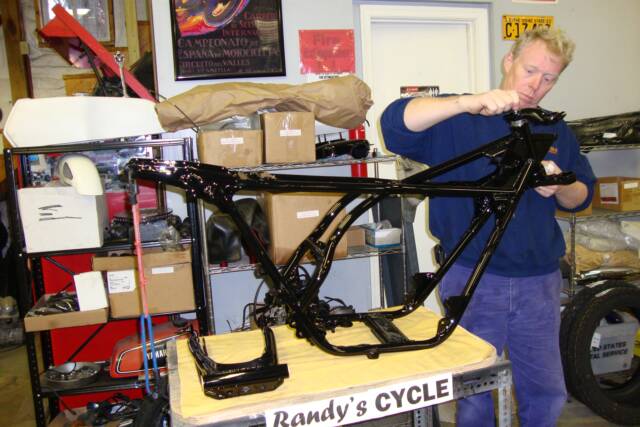
Examples of "bird poo" welding found all over this bike. Some were poor structurally while others were simply ugly
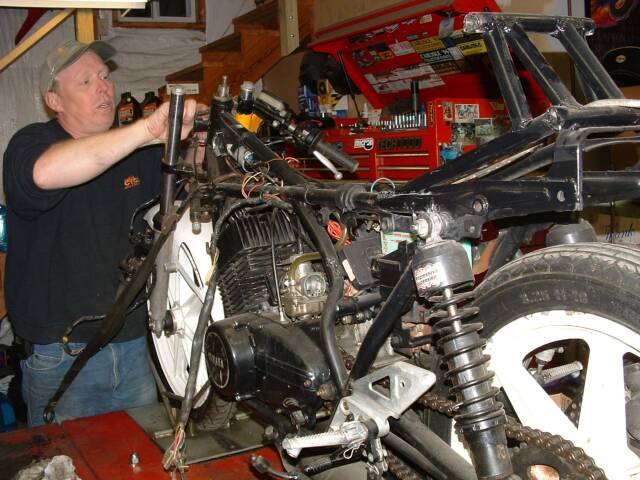
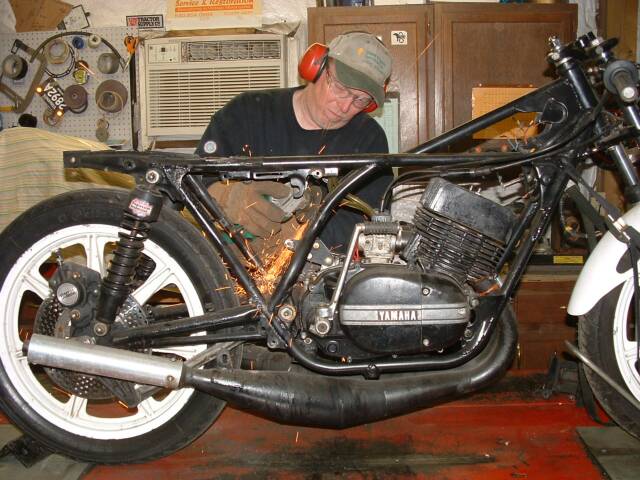
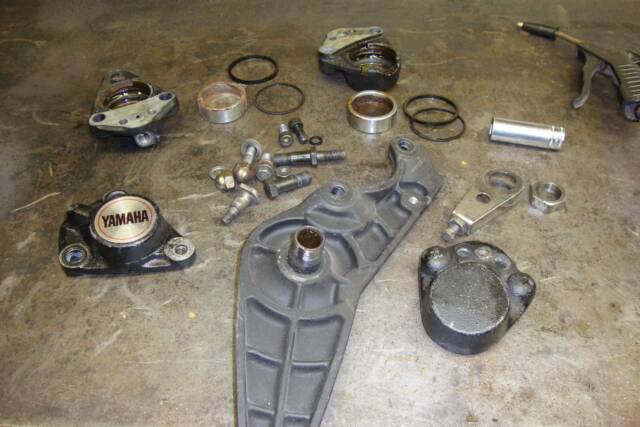
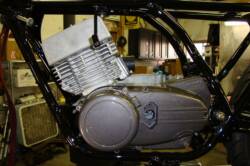
Removal of unnecessary or poorly created items
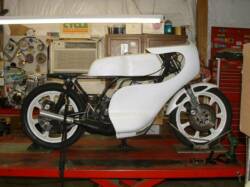
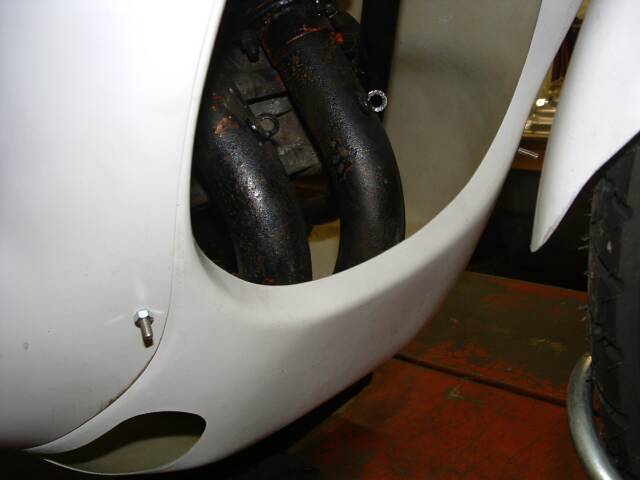
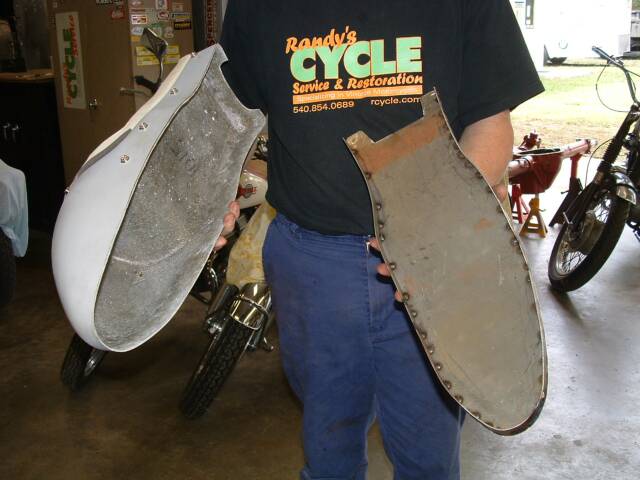
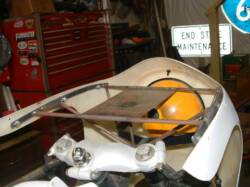
Clearance issues with the stock fiberglass body fairing
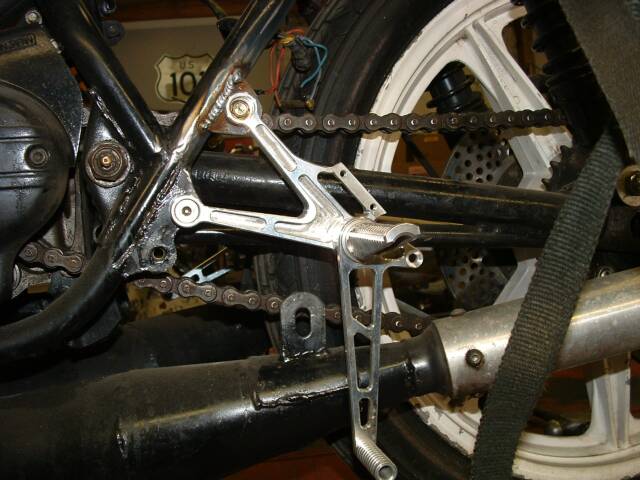
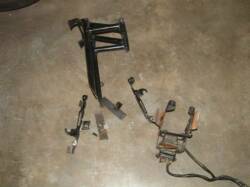
Custom brackets for the rear sets
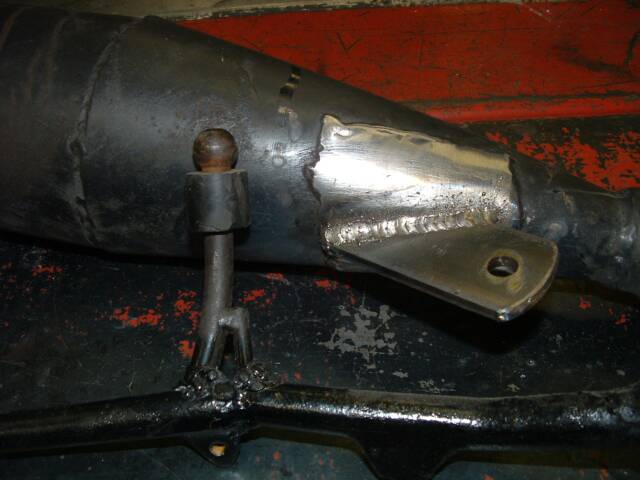
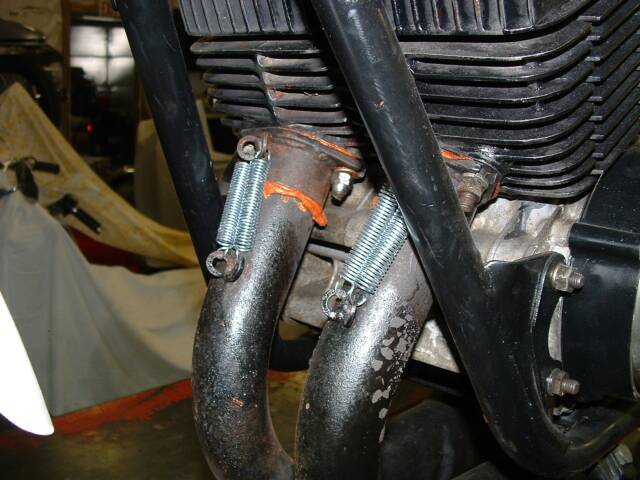
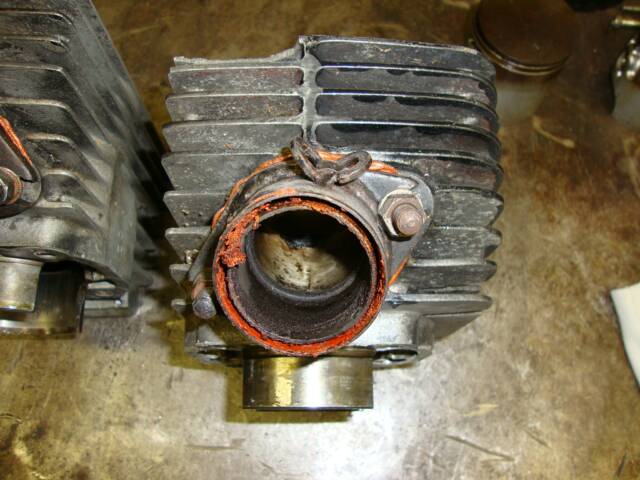
Custom made brackets for the exhaust
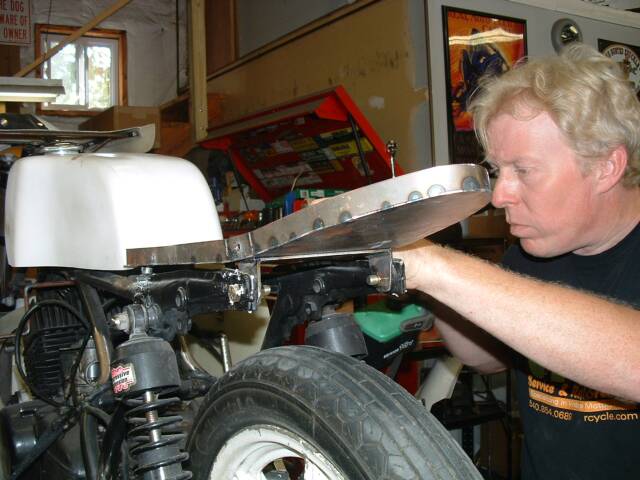
Custom made bracket for headlight & fairing/bubble shield
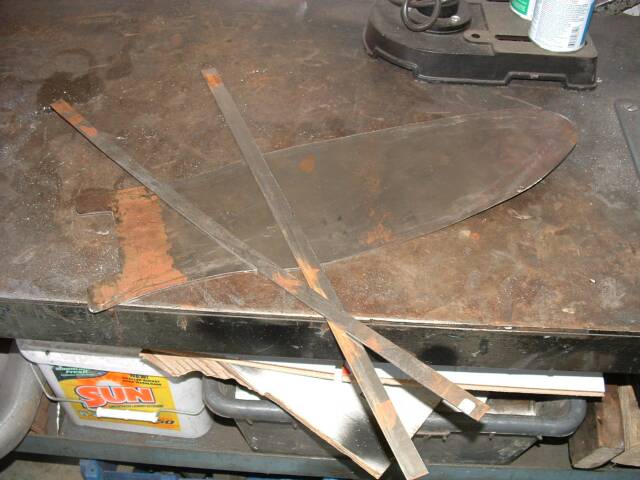
One of the many custom made brackets to stabilize & support the fairing
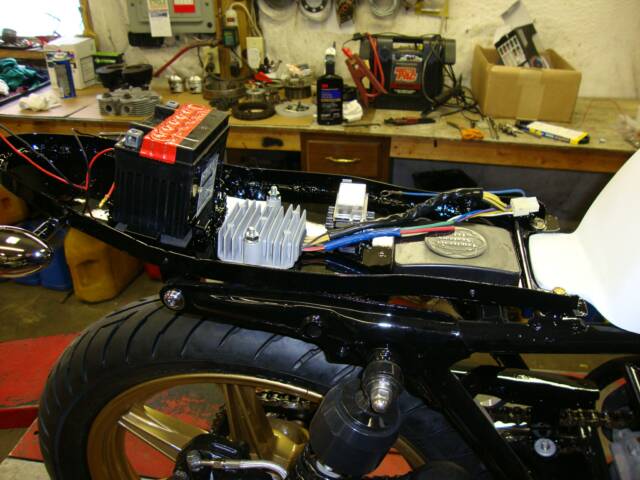
Creation & installation of a custom made seat pan where the battery & other components will be hidden
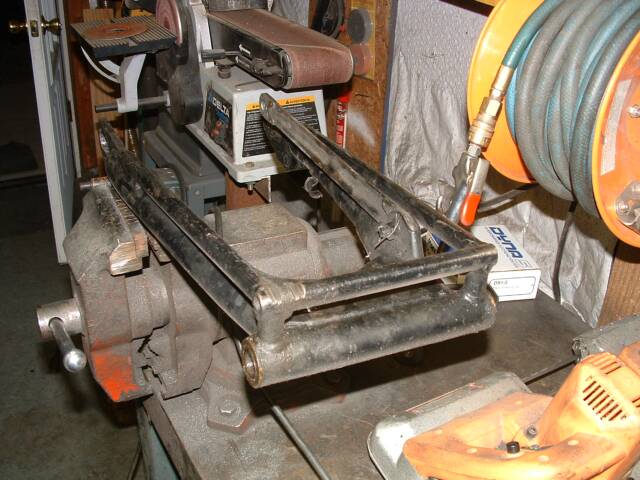
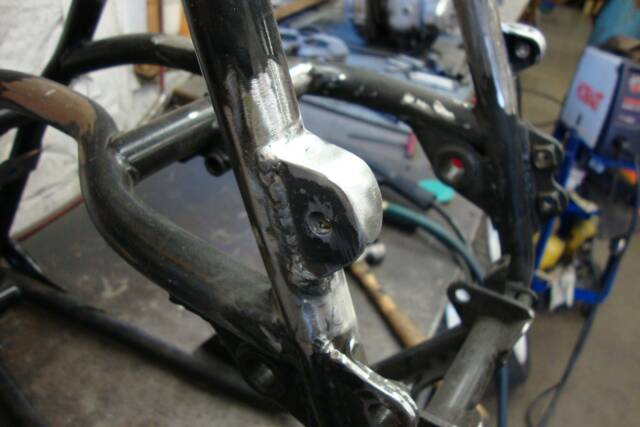
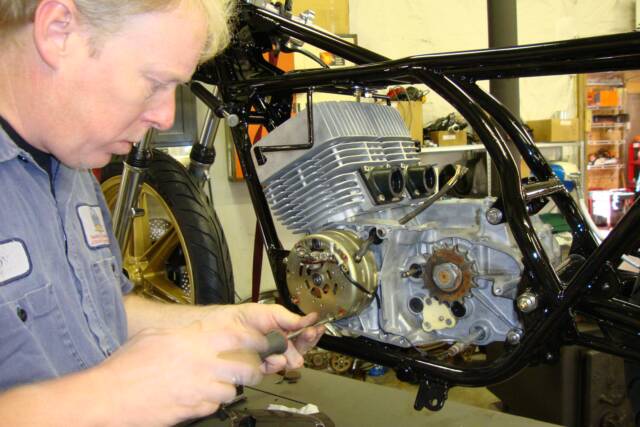
Correcting a so-so supportive swing arm
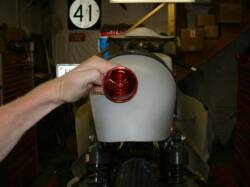

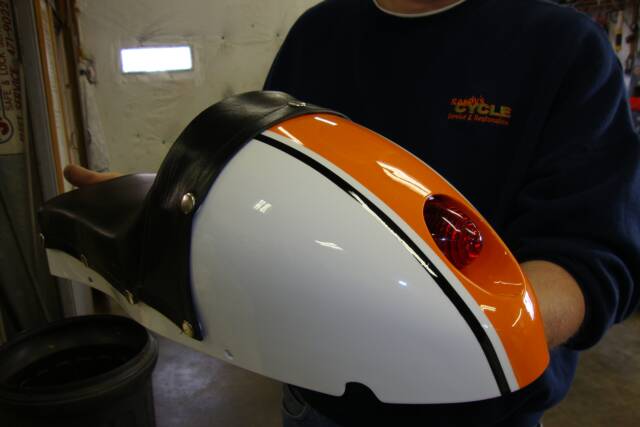
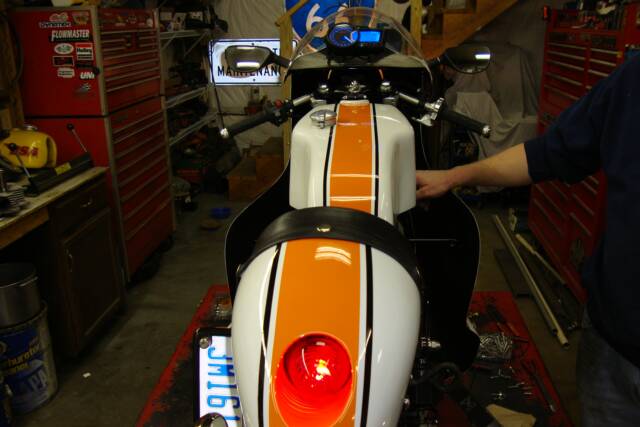
Creation of custom made rear tail light recess in the seat - More pics below
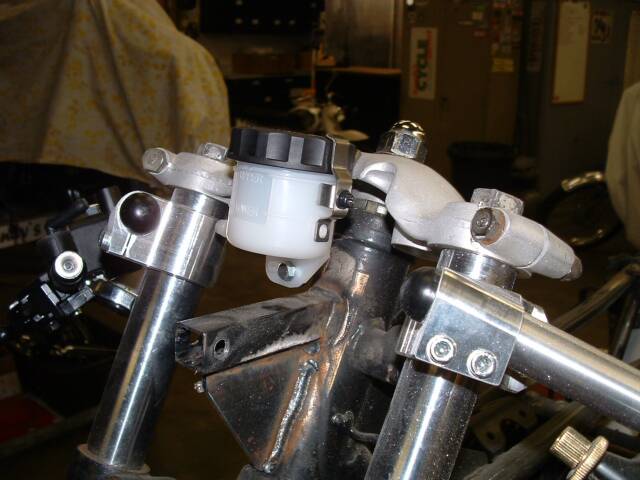
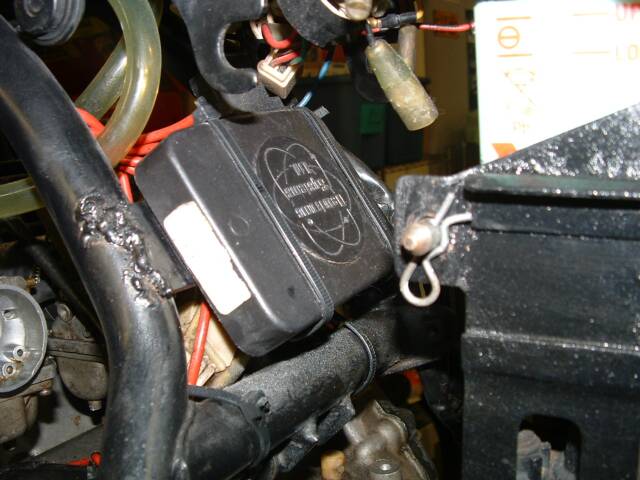
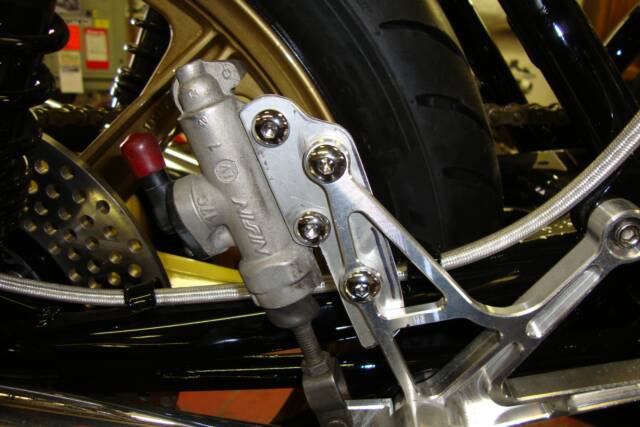
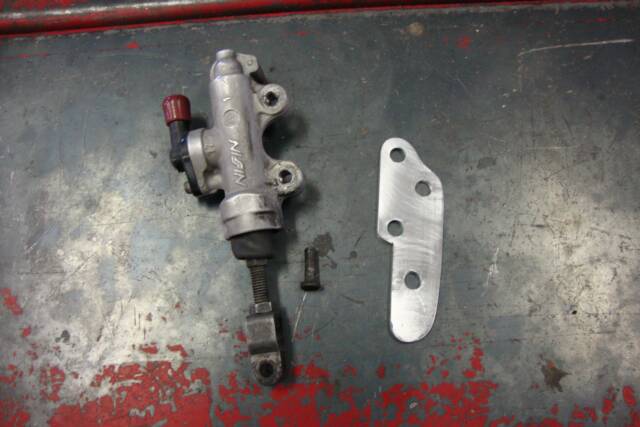
Custom fitted brake cylinder reservoir holder
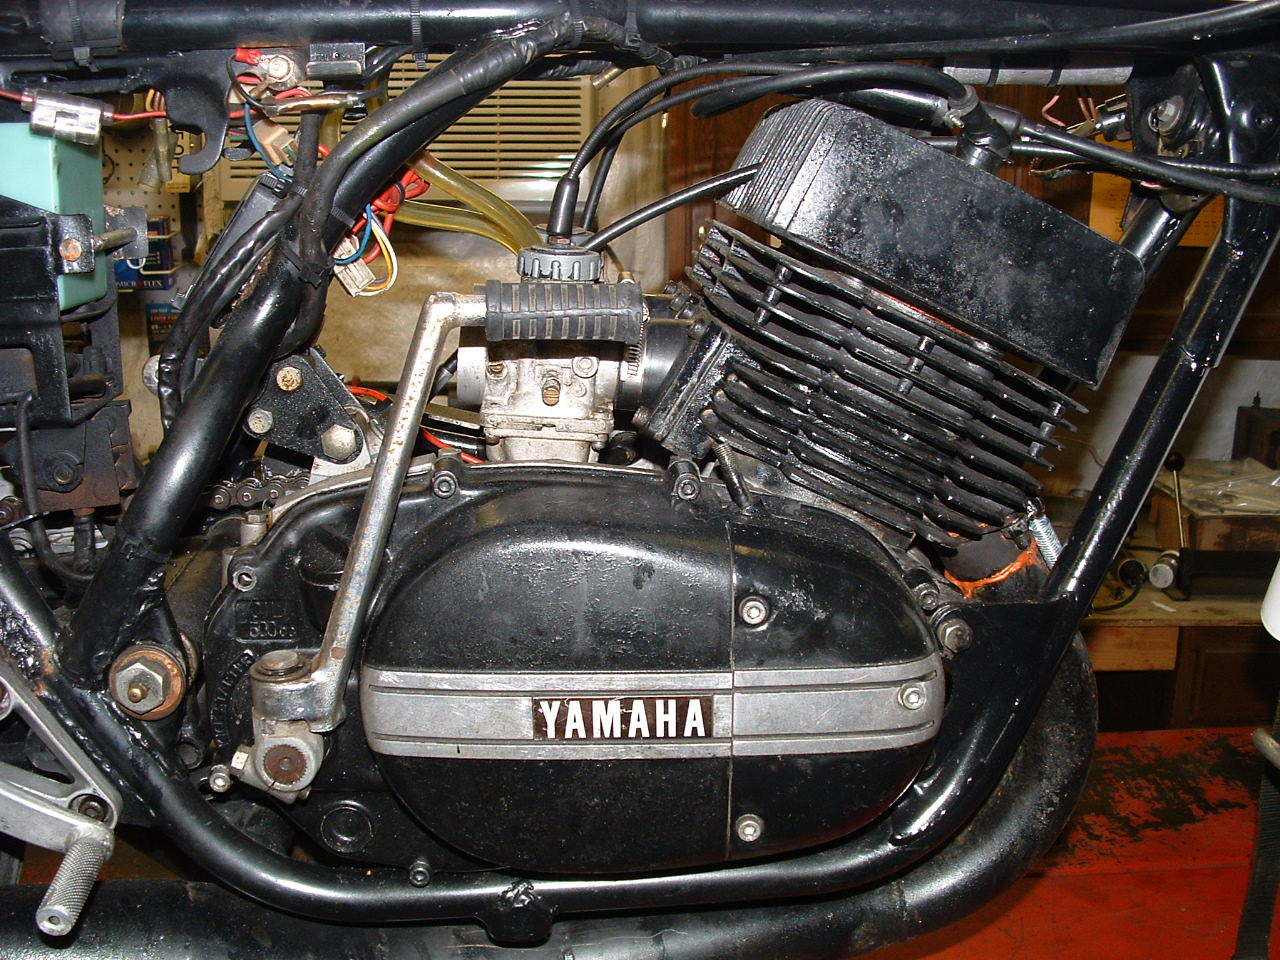
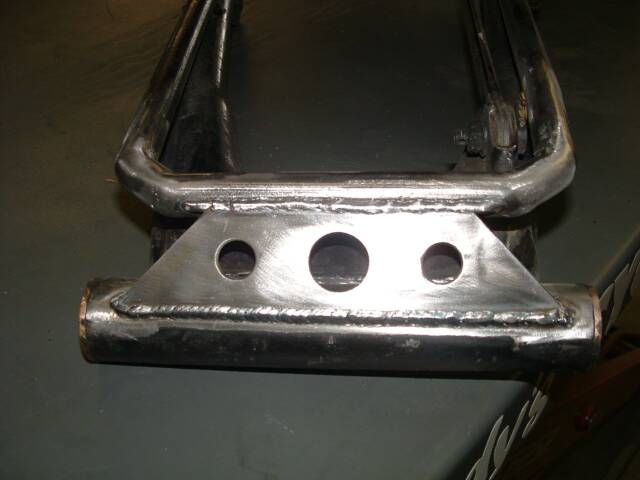
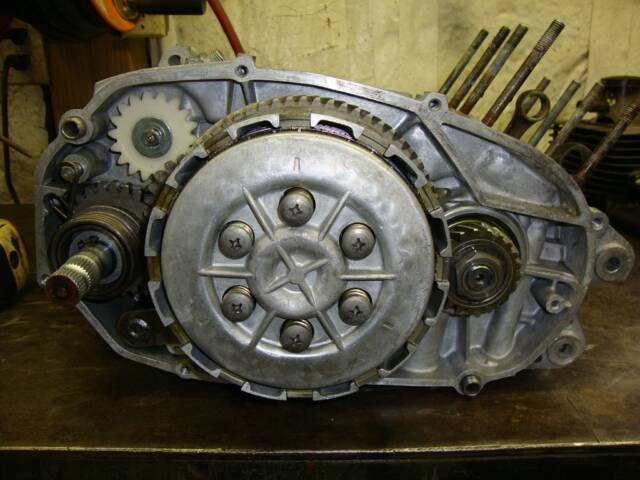
Creation of a engine mounting point

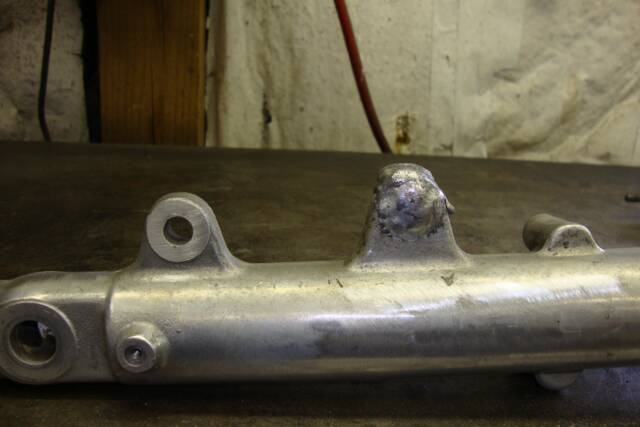
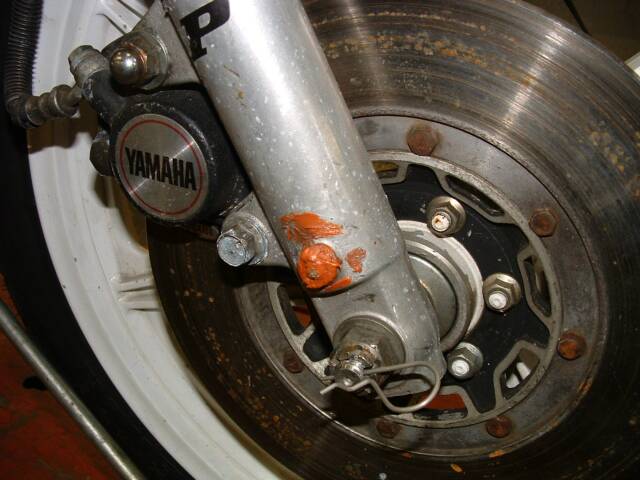
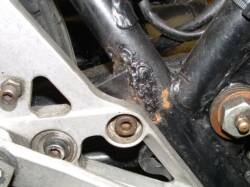
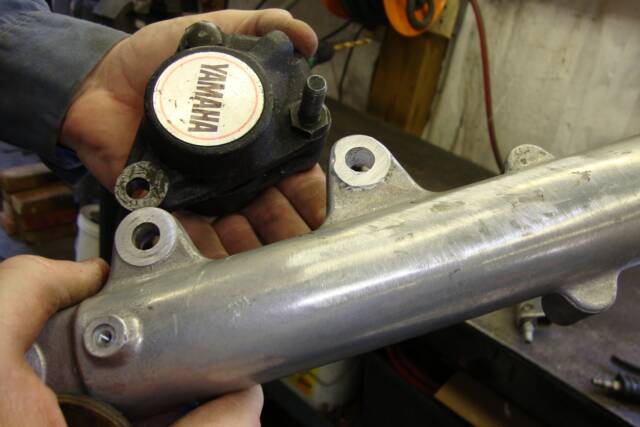
Repair of a broken off mount on the fork leg
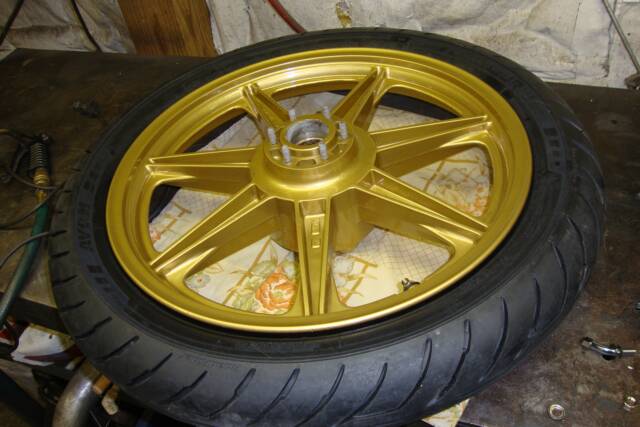
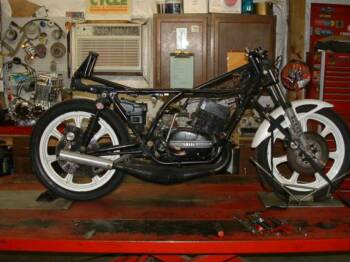
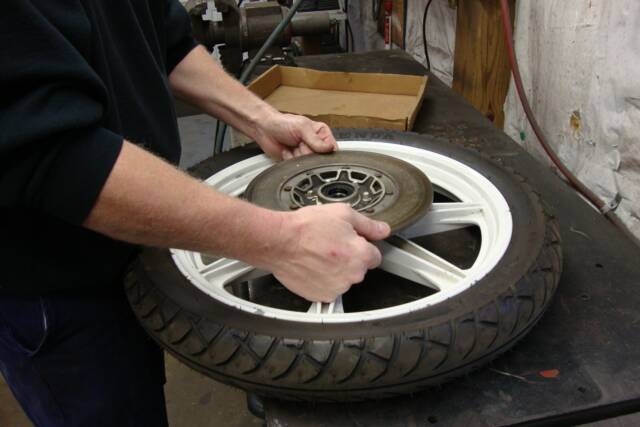
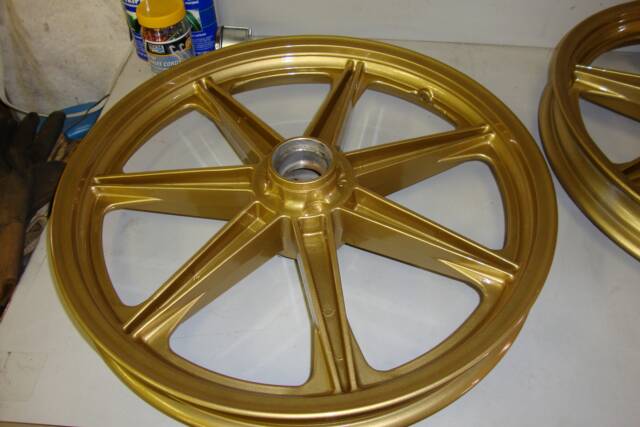
Powder coated rims
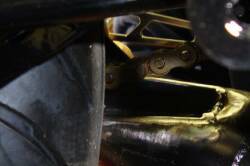
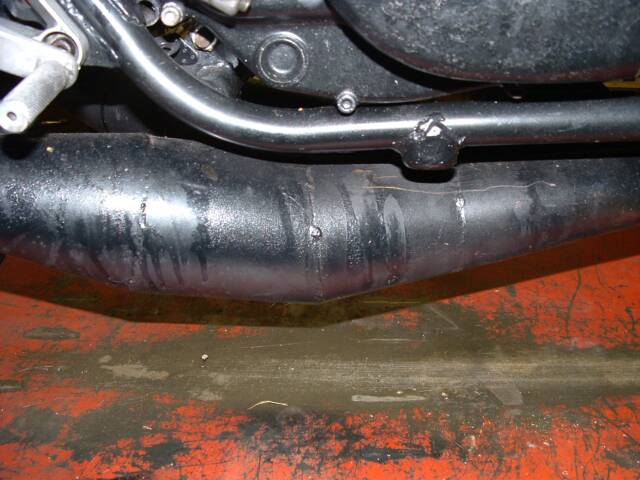
Creation of a cut-out in the exhaust for the drive chain
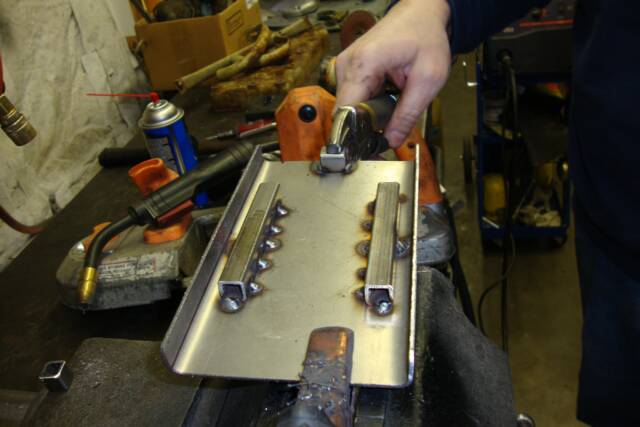

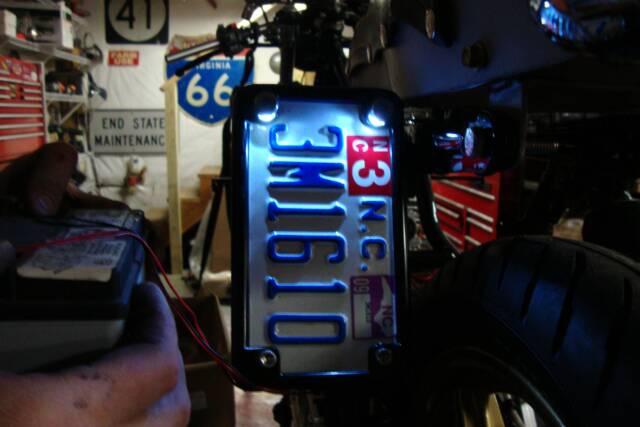
Creation of a lighted license plate holder
Creation of a custom made bracket for the rear caliper
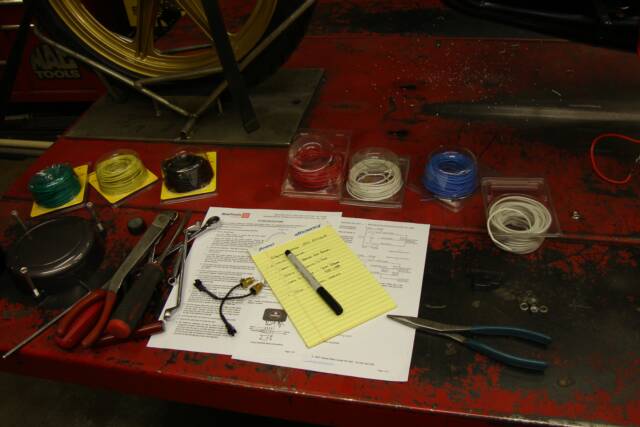
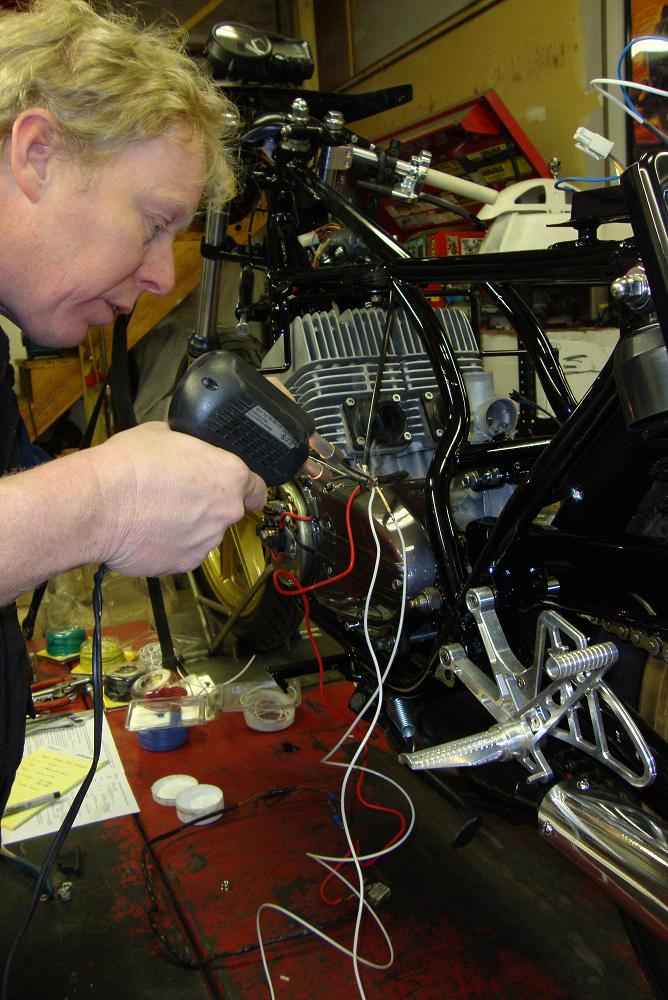
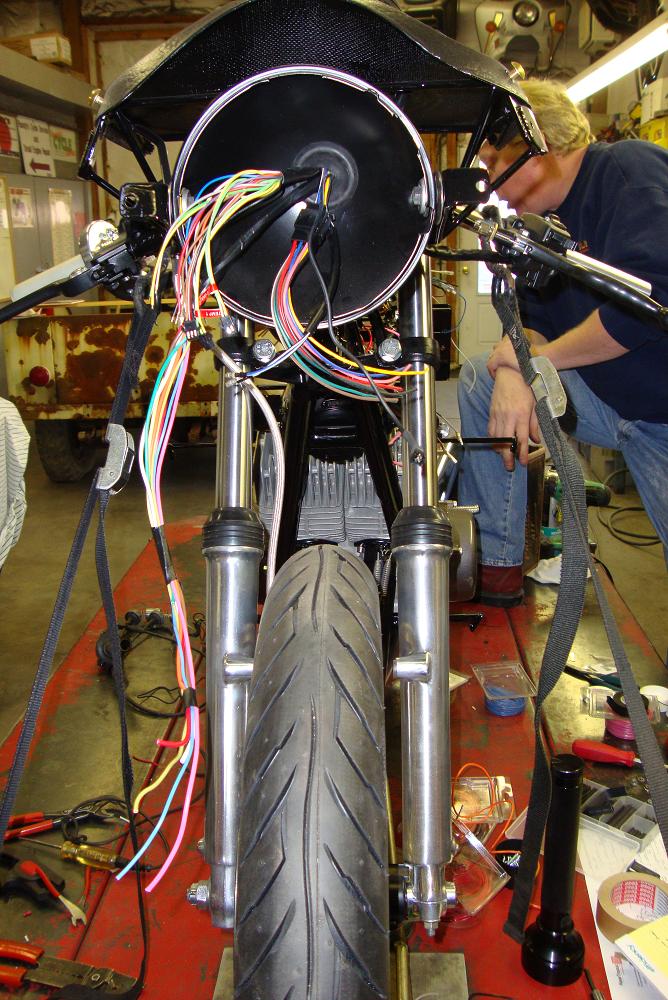
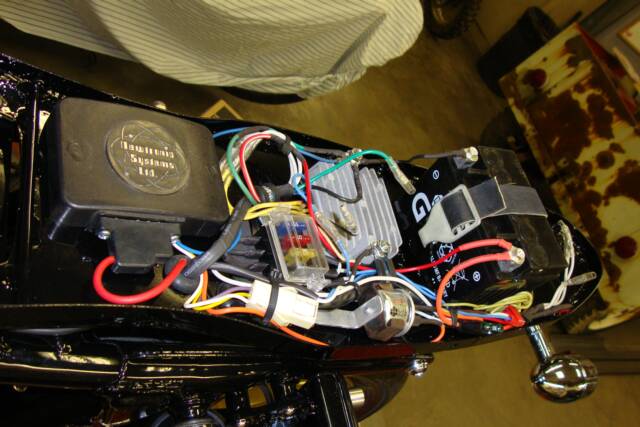
Creation of a wiring harness

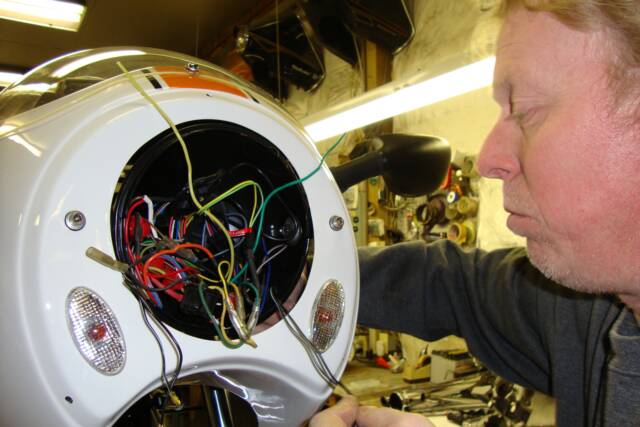
Bracing for the headlight fairing
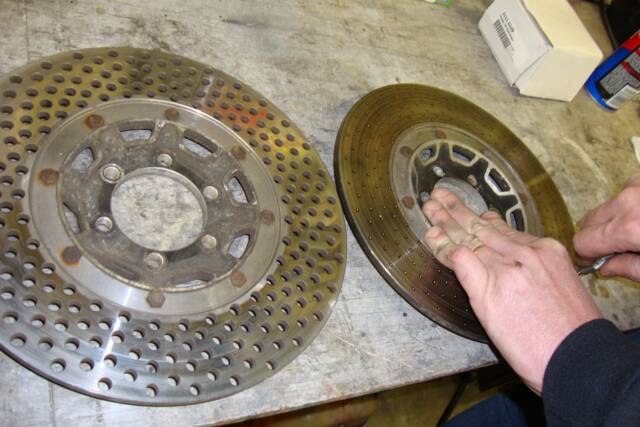
Only 1 rotor was drilled out, so the 2nd had to be made to match
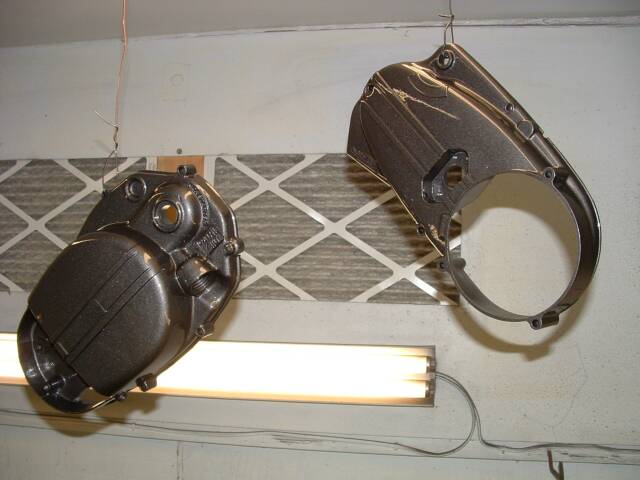
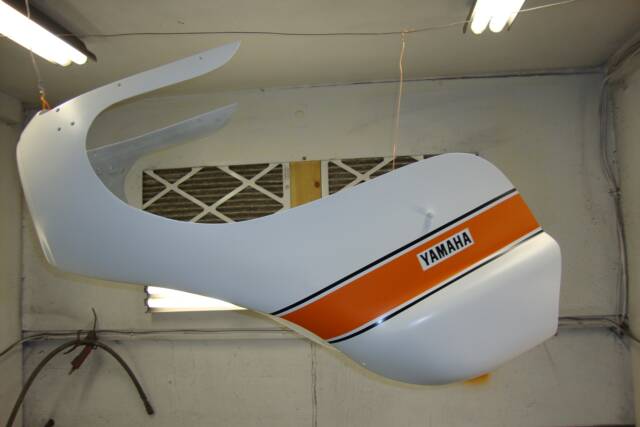
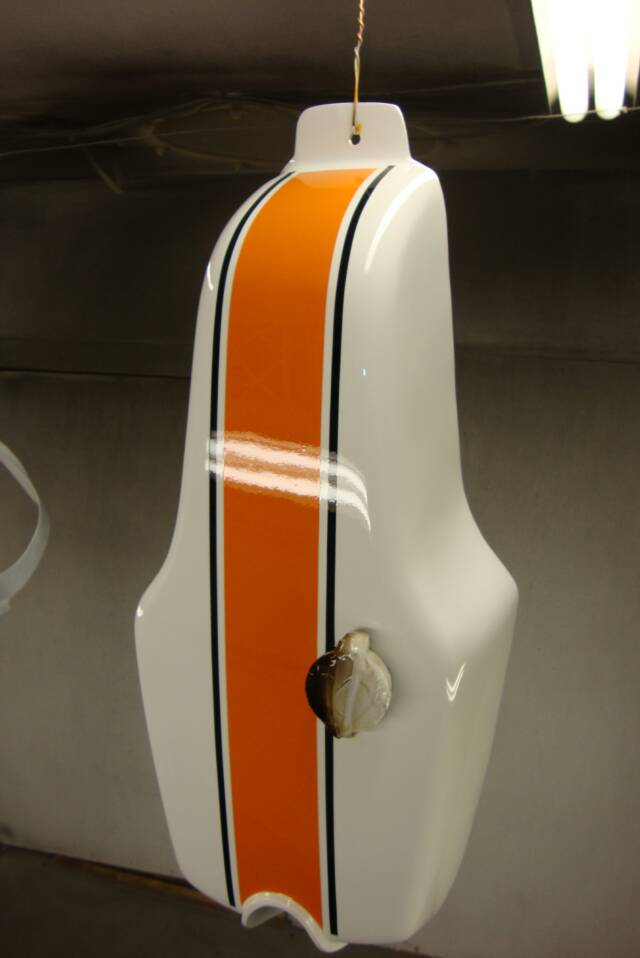
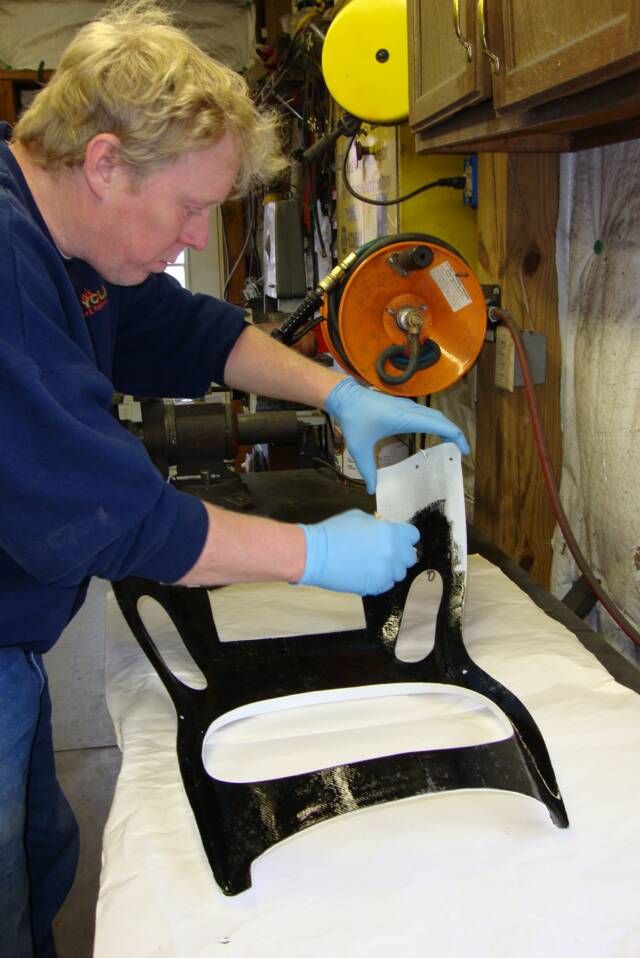
Painting the inside of the fairing for a finished, clean look
Embedded front turn signals

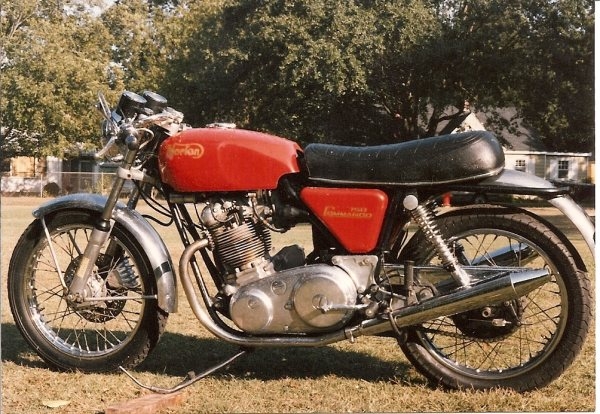
Pictures of our customer's beloved 1967 Norton Comando - taken in the 1980s
1.3 minute video of this bike's first run & idle
2.6 minute video of how to cold start this bike & it running
1.4 minute video of this bike's on one of its street test rides
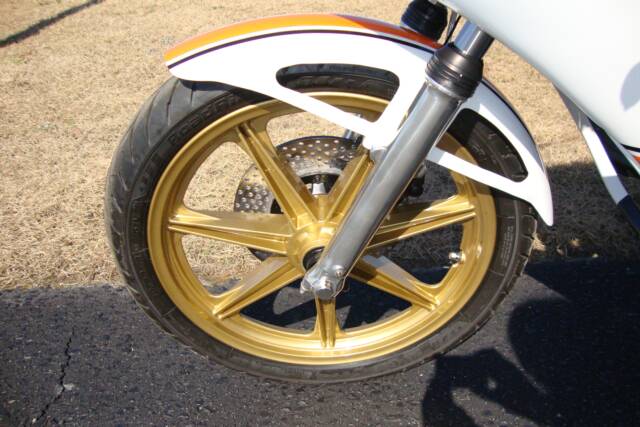
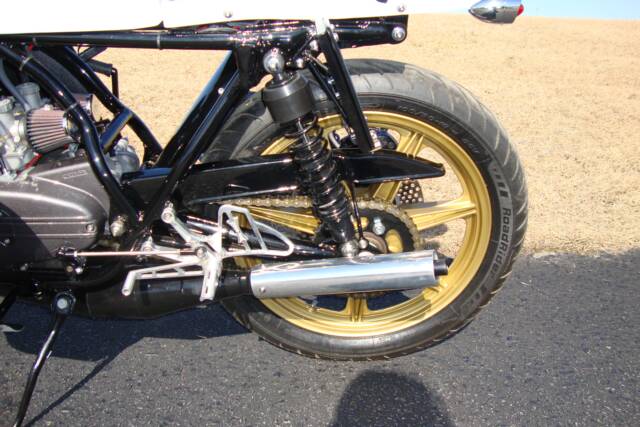
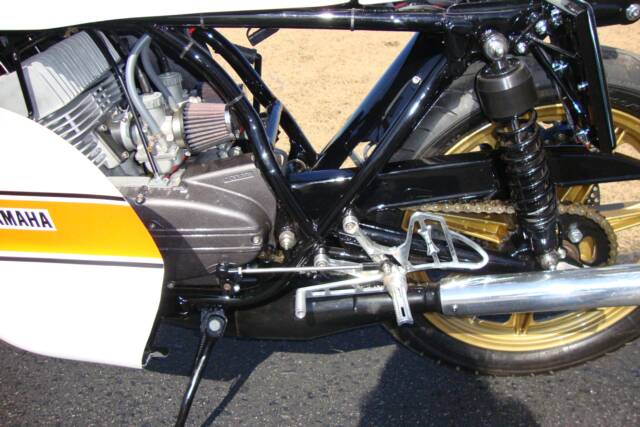
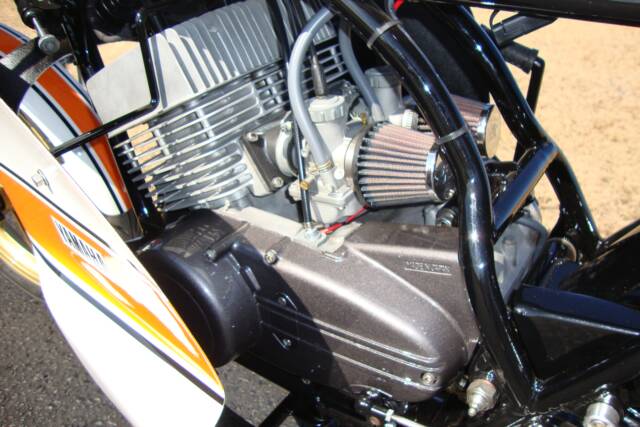

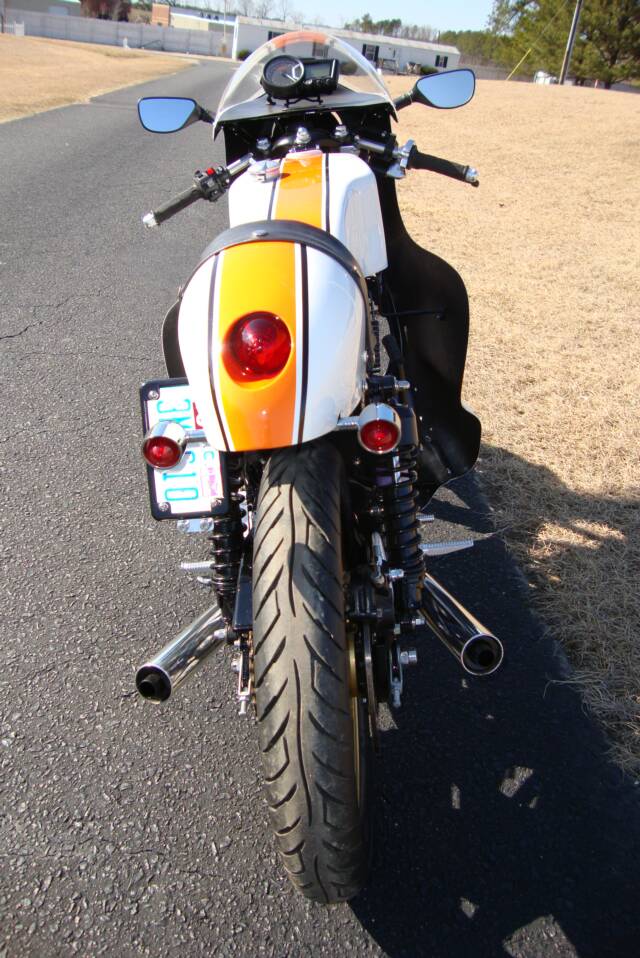
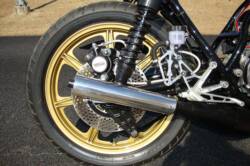
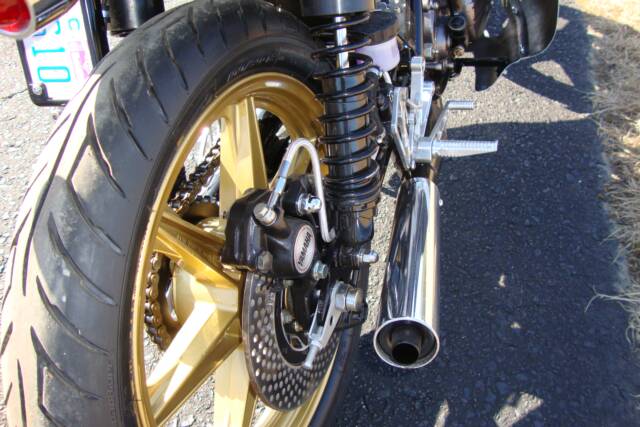
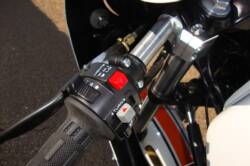

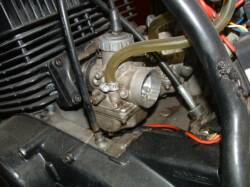
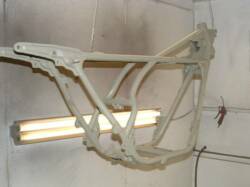
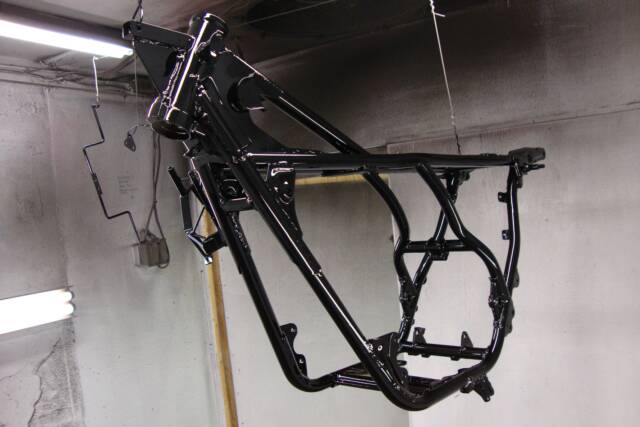
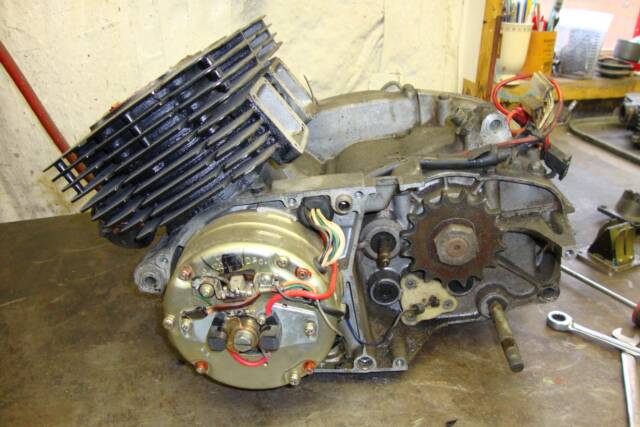
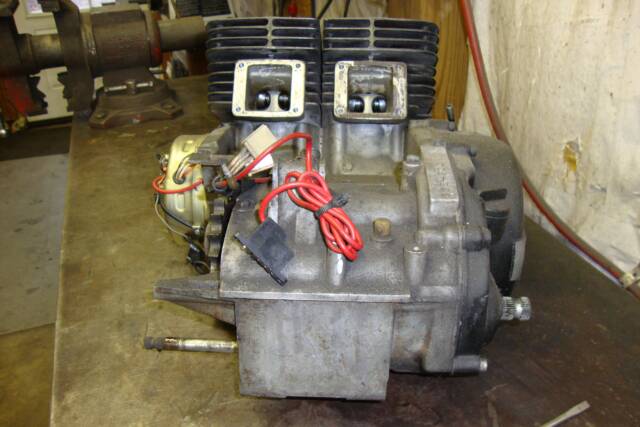
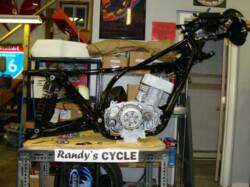
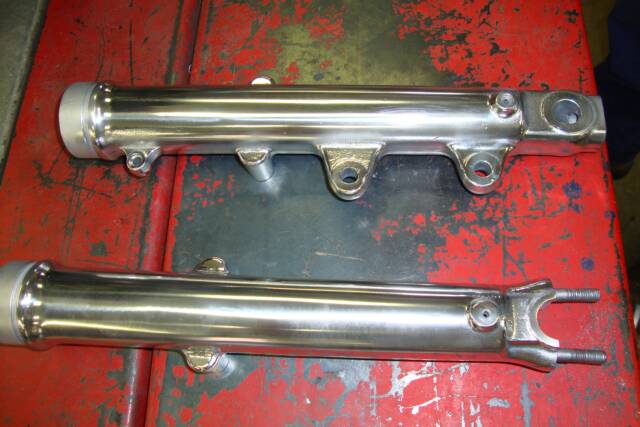
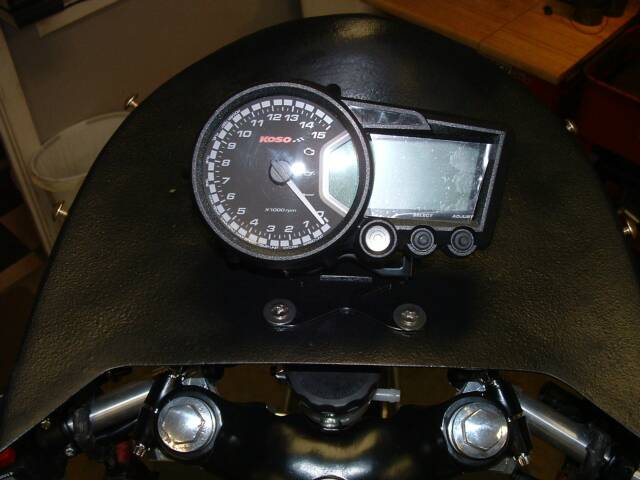
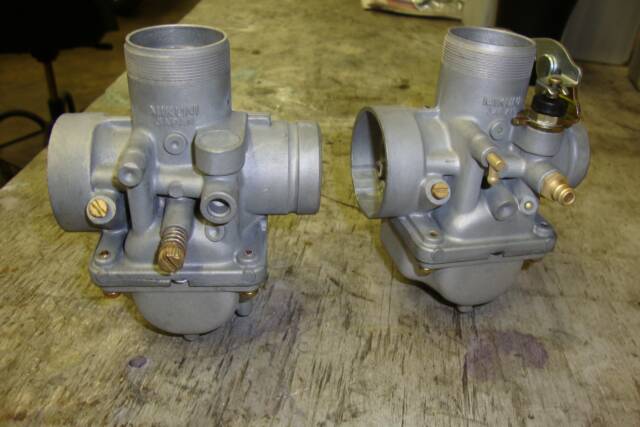
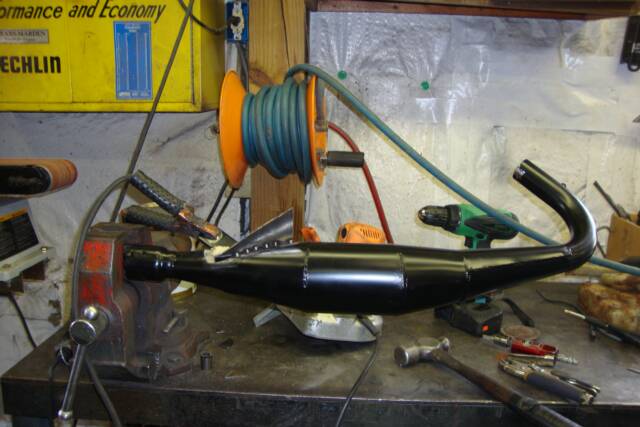
In Stage 2: complete replacement of rear shocks, replace steering bearings with new tapered type, replace front forks & springs, polish fork lowers, fix front brake caliper mount which had been cut, clean & detail engine cases, re-seal engine top end & paint cylinder jugs black, rebuild 2 carburetors, strip paint from expansion chambers & repaint with high temp black paint, install digital RX 2GP style speedo & tach gauges, drill 260+ holes in existing front rotor to match rear rotor, rebuild & paint front & rear brake calipers, replace 3 sets of brake hoses & clamps with braided stainless steel, replace all fuel line & clamps with braided stainless steel, replace front master cylinder with smaller, more effective unit with remote reservoir, replace switch assembly & throttle & move to left side of clip-ons, install & balance new Avon Roadrider front & rear tires, install new brake pads, powder coat Gold front & rear wheel rim, install sealed, maintenance free battery, install new ignition switch in new place, install 2 K & N air filters, correct front exhaust flange seals which wee damaged, new handlebar grips, replace spark plug wires & boots, new engine hardware kit, install 2 pressure brake light switches - front & rear, install new throttle, speedo, tach & clutch cables, install new regulator/rectifier unit & check alternator & brushes, new O-ring drive chain, clean/adjust weak sounding horn, strip, prime & paint frame - Black, paint fiberglass body work. Then seal inside of new Airtech fuel tank with Monza style flip top gas cap, install 2 mirrors with welded-in support brackets, add black license plate holder with with 2 LED bolt lights mounted on the left side.
Located in beautiful Central Virginia since 2001
8175 Black Walnut Run Road, Rhoadesville, VA 22542 USA
Service by Appointment ~ Closed Sunday & Monday
(540) 854-0689 // info@rcycle.com
The Mid-Atlantic Region Premier Restorer of Vintage Motorcycles